Website example
When you want to build a website, we have used the ChatGPT Grimoire GPT with great success. Open ChatPGT, select Explore GPTs and find Grimoire.
Here is a prompt we used recently
I want another page on my site.

I want to
1.  allow user to download a csv template file
2.  allow user to upload file based on the template
3.  user will specify the PropertyType when uploading file as a dropdown with choices of 'Strata' or 'Commercial'

use Tailwind CSS for formatting.
Grimoire will produce all of the elements for your web page. Now you just need to copy and paste them into the appropriate activities in your workflow.
HTML structure
The first part produced by Grimoire is the HTML. Here is an example output:
<!DOCTYPE html>
<html lang="en">
<head>
    <meta charset="UTF-8">
    <meta name="viewport" content="width=device-width, initial-scale=1.0">
    <title>Upload Page</title>
    <link href="https://cdn.jsdelivr.net/npm/tailwindcss@2.2.19/dist/tailwind.min.css" rel="stylesheet">
</head>
<body class="bg-gray-100 p-10">

    <div class="max-w-md mx-auto bg-white p-6 rounded-lg shadow-lg">
        <h2 class="text-2xl font-bold mb-4">Upload CSV File</h2>

        <button id="download-template" class="bg-blue-500 text-white px-4 py-2 rounded mb-4">Download CSV Template</button>

        <div class="mb-4">
            <label for="property-type" class="block text-gray-700">Property Type</label>
            <select id="property-type" class="mt-1 block w-full bg-gray-100 border border-gray-300 rounded-md shadow-sm">
                <option value="Strata">Strata</option>
                <option value="Commercial">Commercial</option>
            </select>
        </div>

        <div class="mb-4">
            <label for="file-upload" class="block text-gray-700">Upload CSV File</label>
            <input id="file-upload" type="file" accept=".csv" class="mt-1 block w-full bg-gray-100 border border-gray-300 rounded-md shadow-sm">
        </div>

        <button id="submit-button" class="bg-green-500 text-white px-4 py-2 rounded">Upload</button>

        <div id="result" class="mt-4 text-red-500"></div>
    </div>

    <script>
        document.getElementById('download-template').addEventListener('click', function () {
            const csvContent = "data:text/csv;charset=utf-8,Column1,Column2,Column3\n";
            const encodedUri = encodeURI(csvContent);
            const link = document.createElement('a');
            link.setAttribute('href', encodedUri);
            link.setAttribute('download', 'template.csv');
            document.body.appendChild(link);
            link.click();
            document.body.removeChild(link);
        });

        document.getElementById('submit-button').addEventListener('click', function () {
            const propertyType = document.getElementById('property-type').value;
            const fileUpload = document.getElementById('file-upload').files[0];
            const resultDiv = document.getElementById('result');

            if (!fileUpload) {
                resultDiv.textContent = "Please upload a file.";
                return;
            }

            const reader = new FileReader();
            reader.onload = function (event) {
                const csvContent = event.target.result;
                console.log('Property Type:', propertyType);
                console.log('CSV Content:', csvContent);
                resultDiv.textContent = "File uploaded successfully!";
            };
            reader.onerror = function () {
                resultDiv.textContent = "Error reading file.";
            };
            reader.readAsText(fileUpload);
        });
    </script>

</body>
</html>
You will put this code directly into your HTTP Response activity: 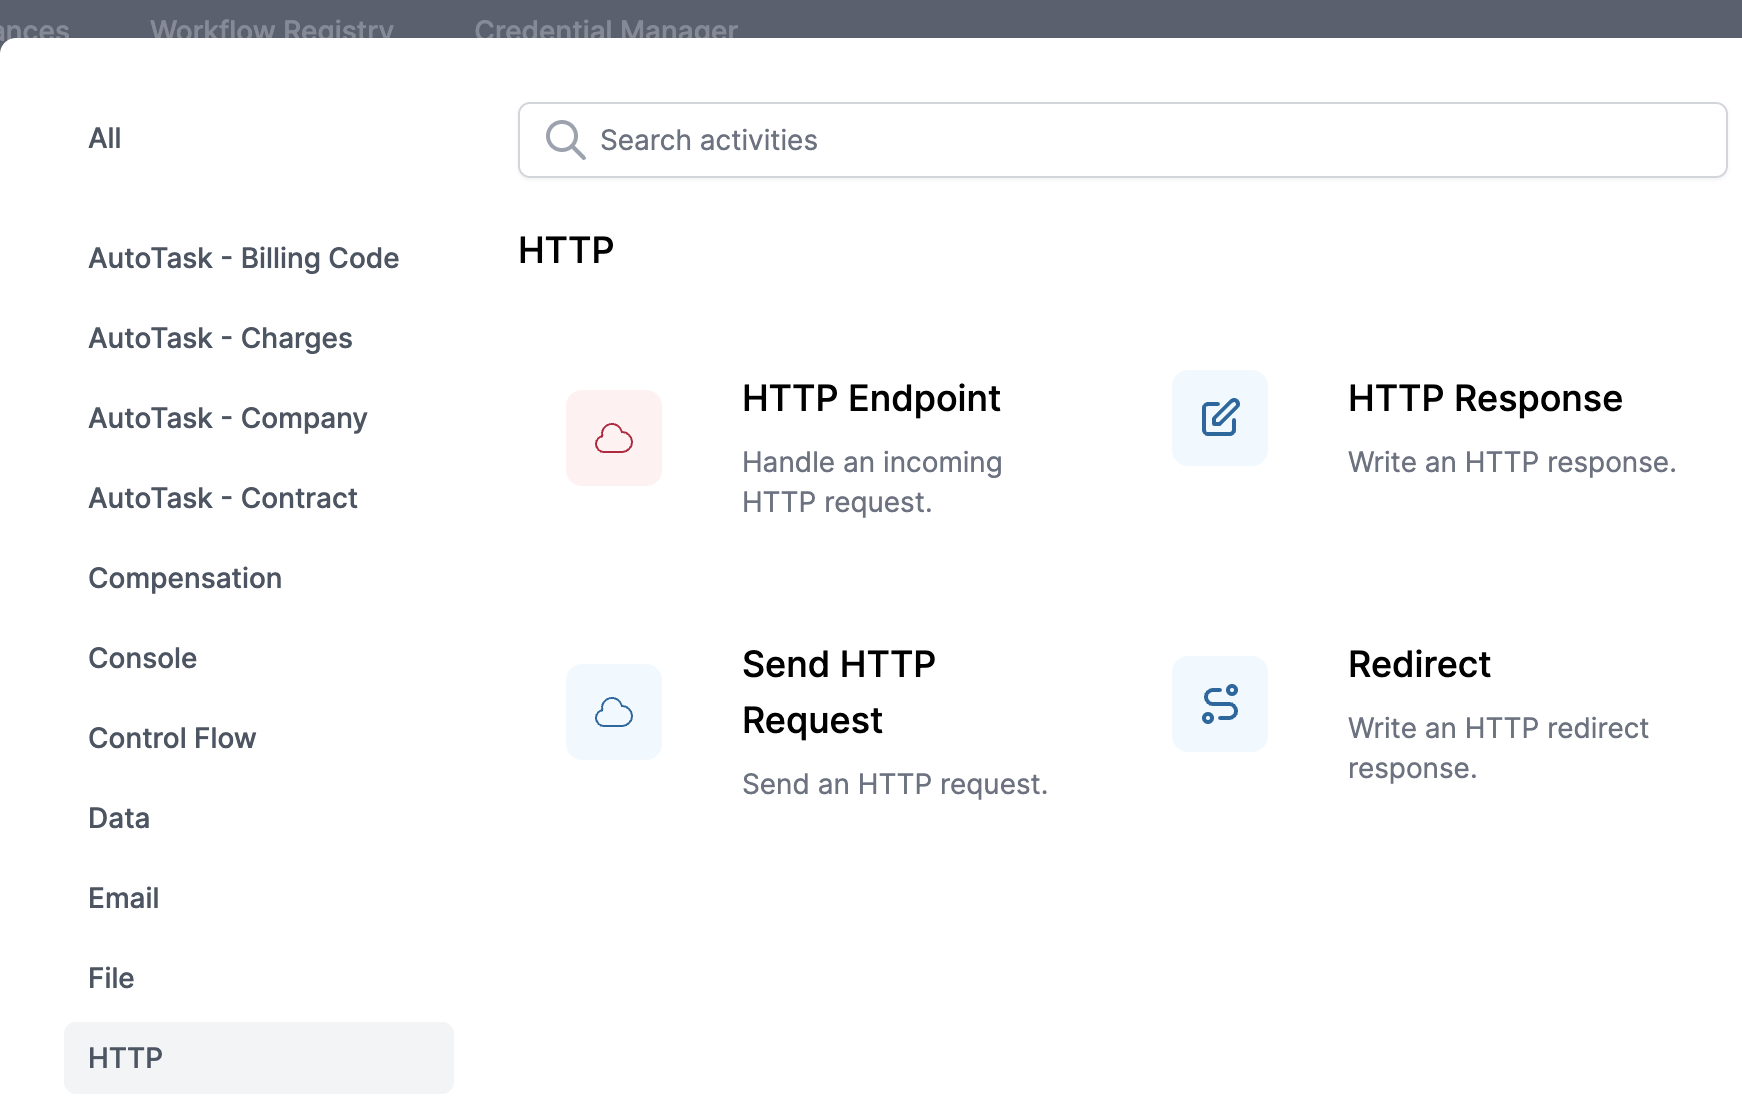 Edit the activity, set the Content to Liquid, and paste the HTML:
 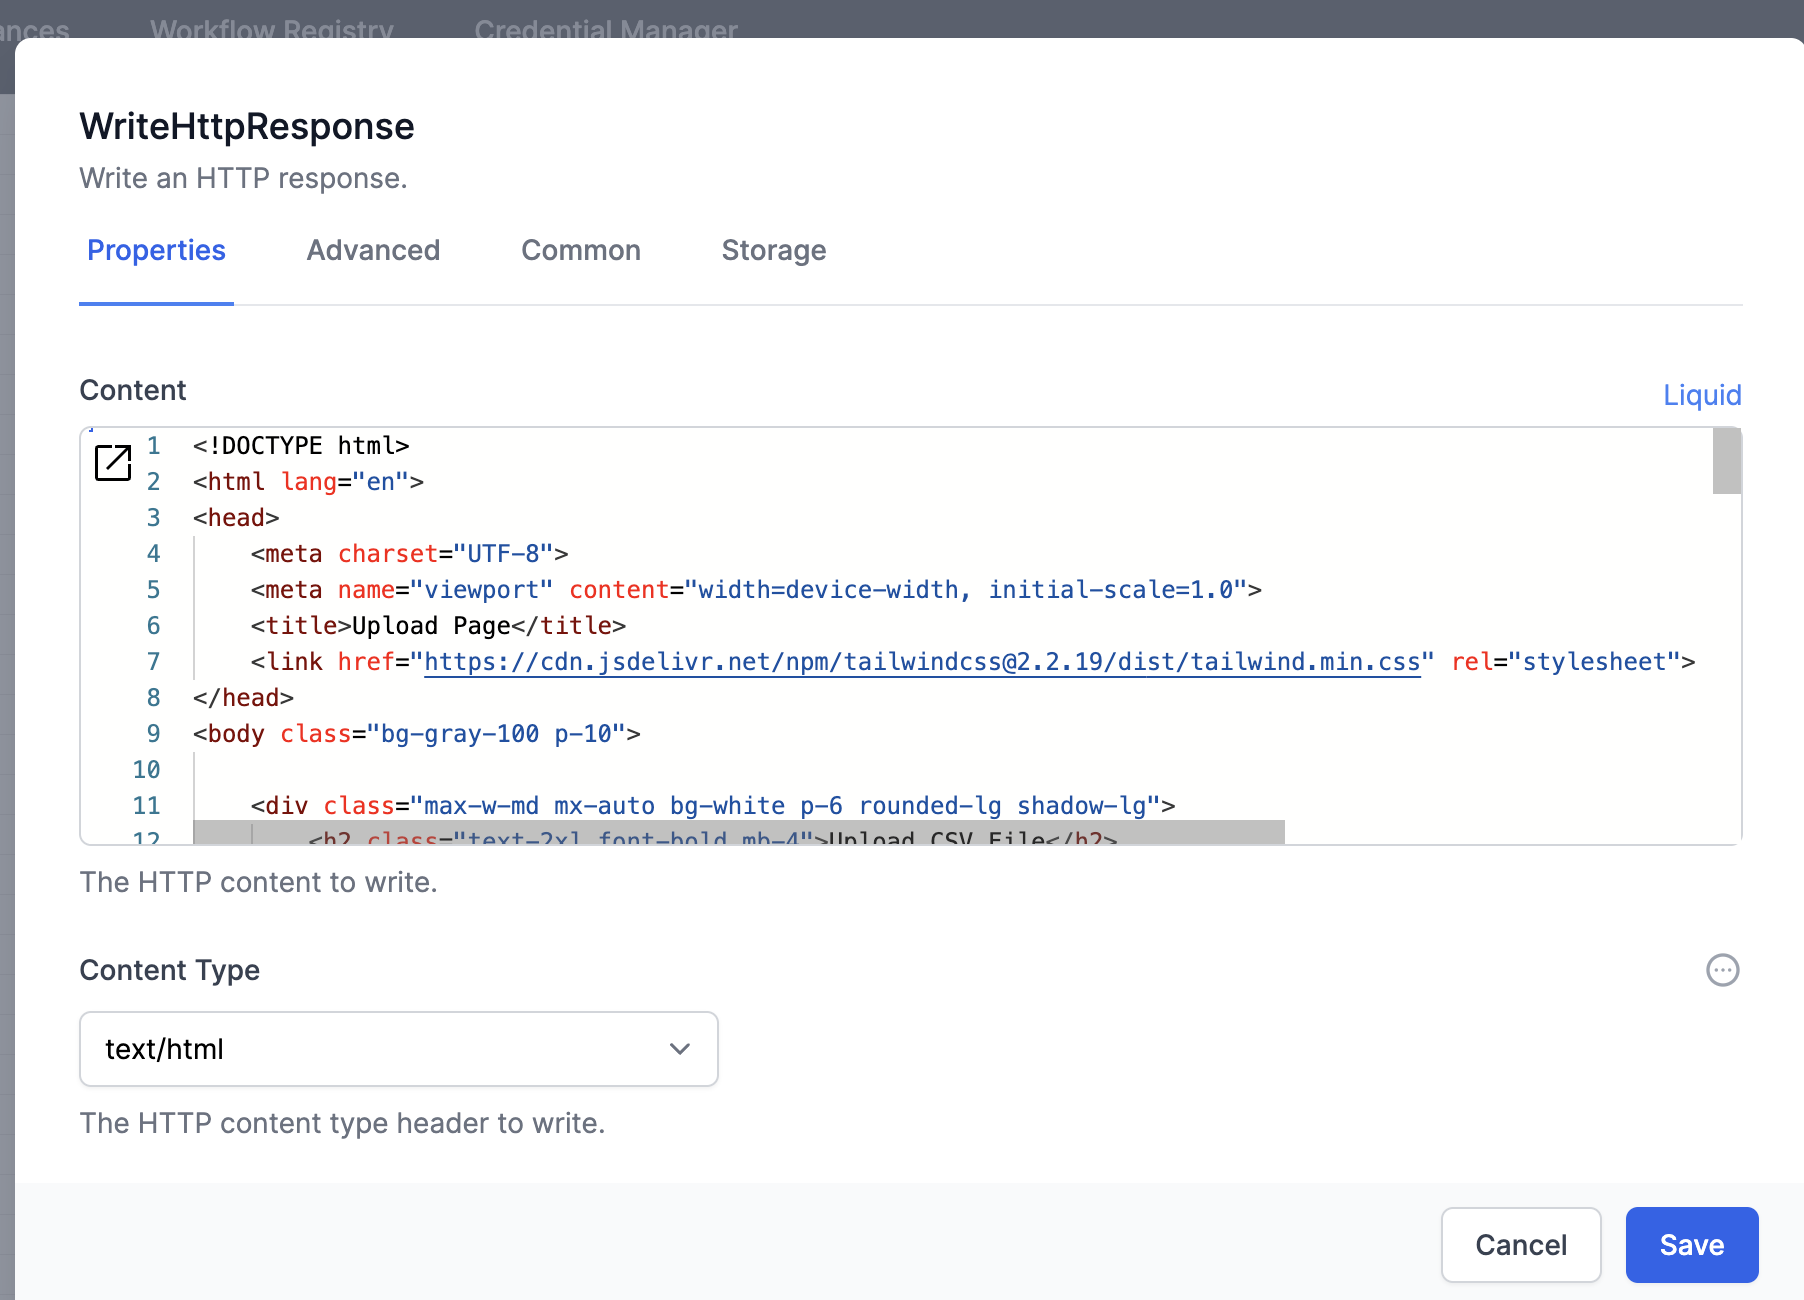 Select the
 Content Type as text/HTML, and set the activity name as usual under the Common tab.
Create another activity, HTTP Endpoint, like this: 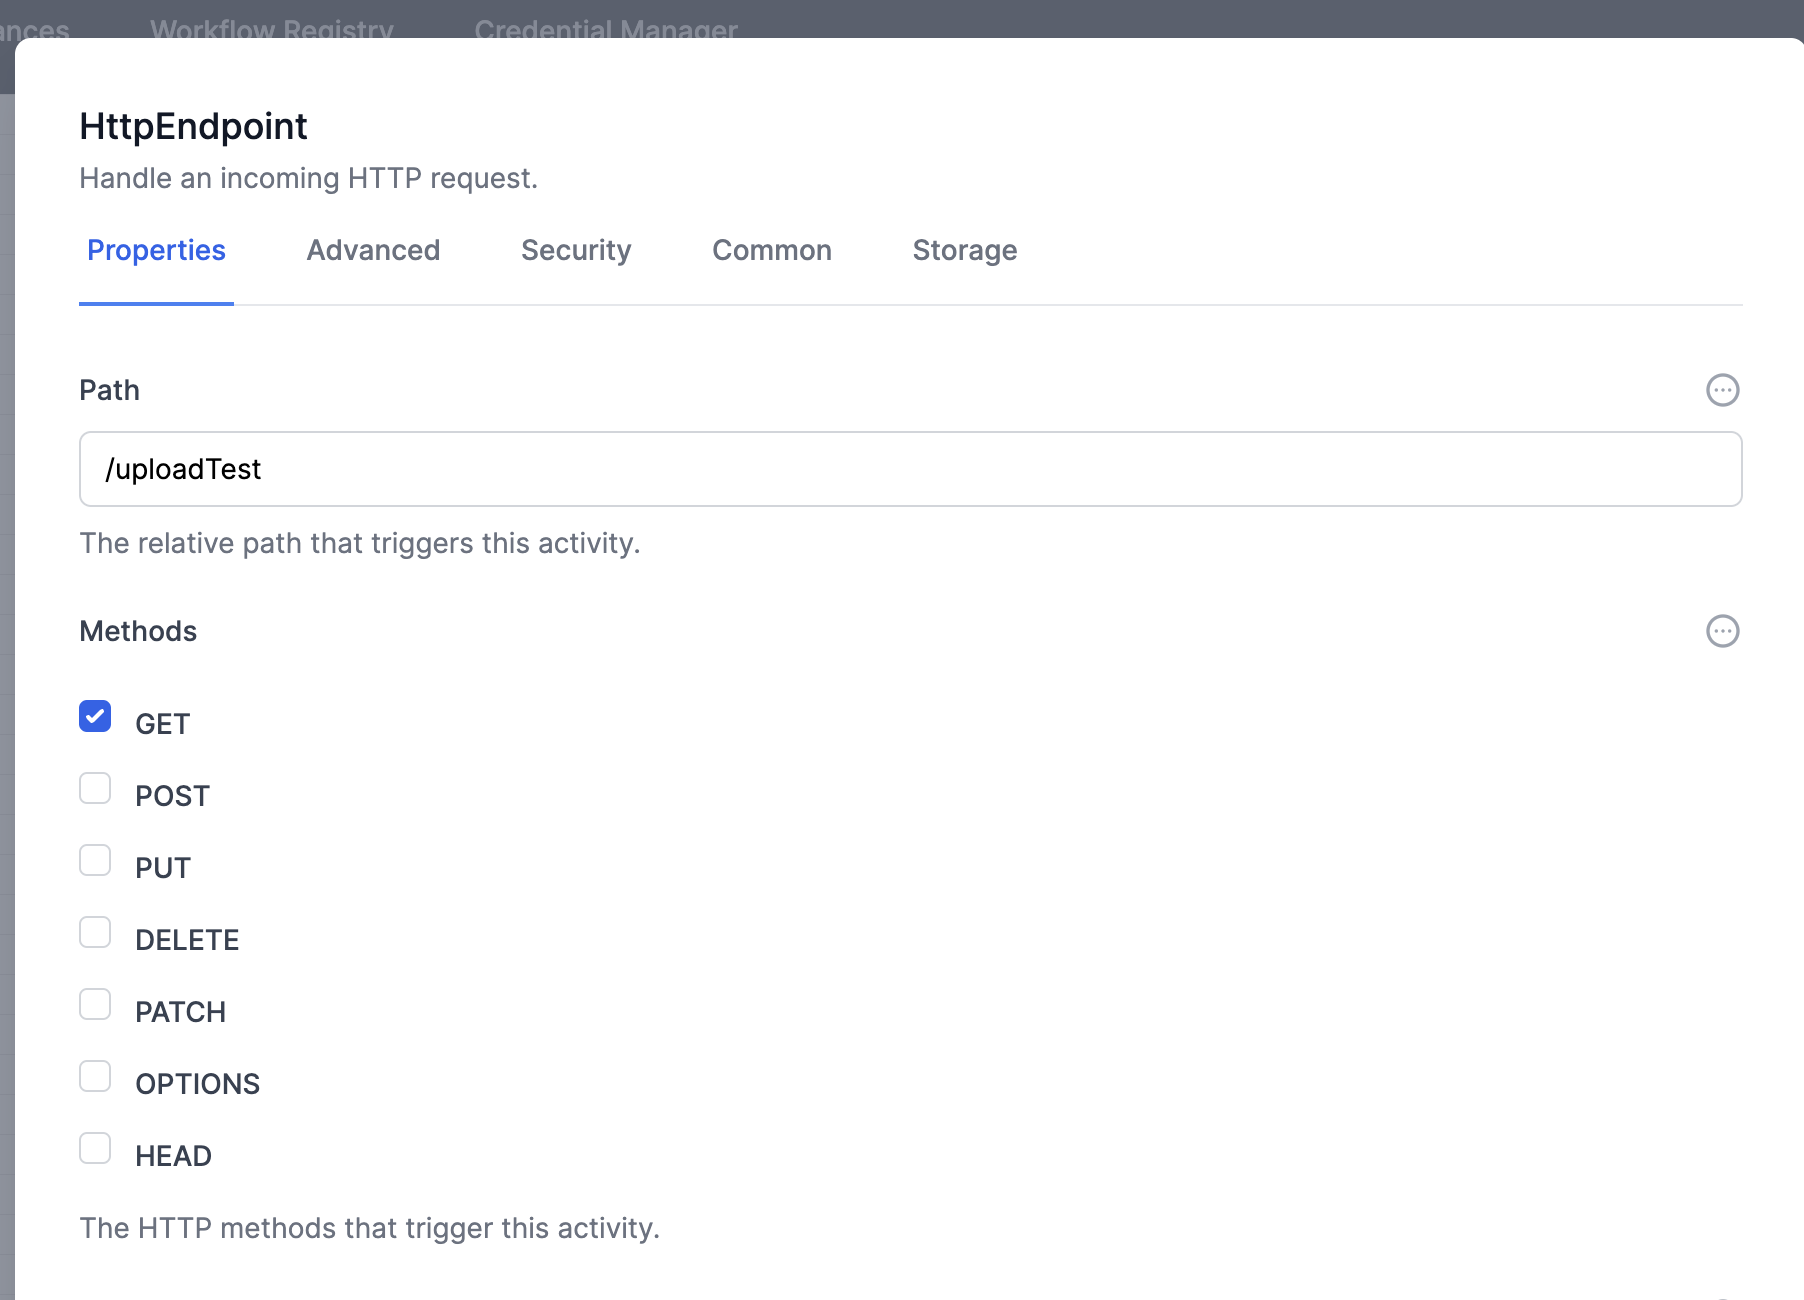 and use an appropriate path. In this case we use /uploadTest. It can be anything logical, just make it unique. Join the two activities, like this:
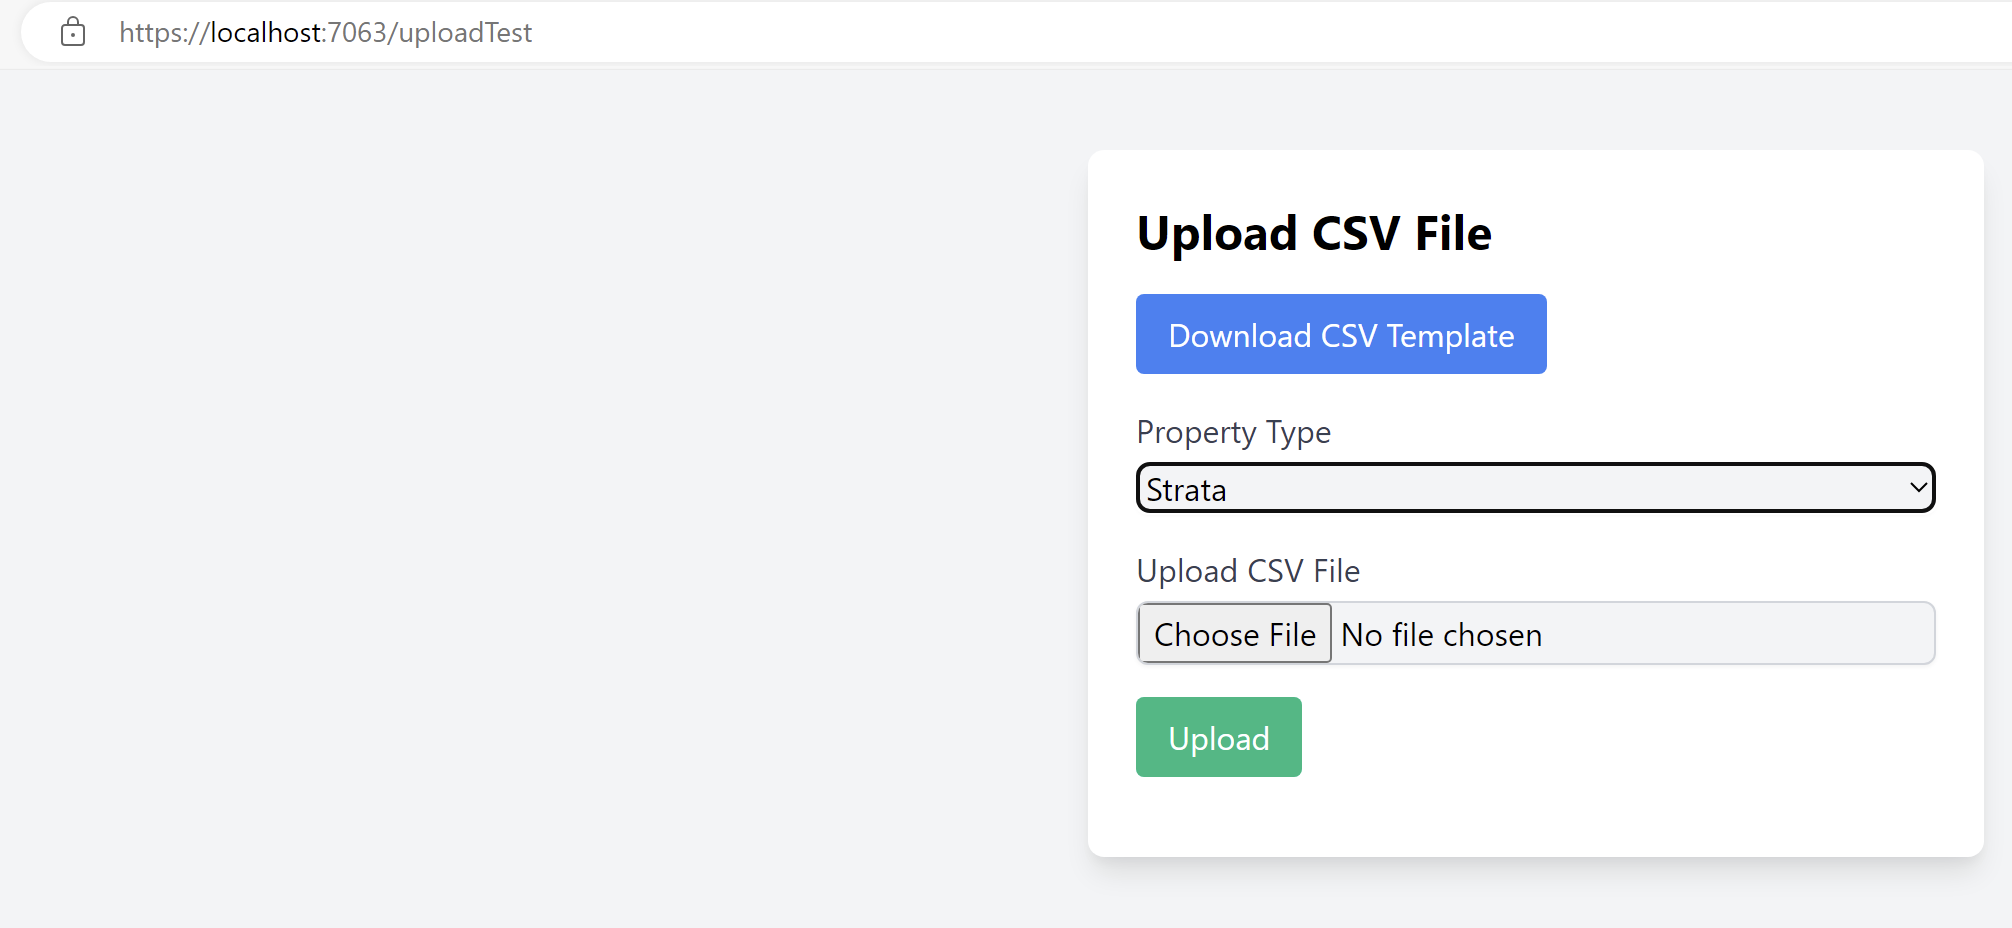
  Now you can run the workflow and see your web page, as built by Grimoire Go to another browswer window, and go to
https://localhost:7063/uploadTest
or whatever endpoint name you used.
Changing the template file
The Grimoire gave you a very simple example template. Here is the line of code provided for you:
const csvContent = "data:text/csv;charset=utf-8,Column1,Column2,Column3\n";
You will doubtless have a template with your own fields, and a row of example data. Instead of doing the work to alter code yourself (and perhaps making a typo along the way), let’s use ChatGPT:
Upload your template directly to ChatGPT Grimoire, with a prompt like this: 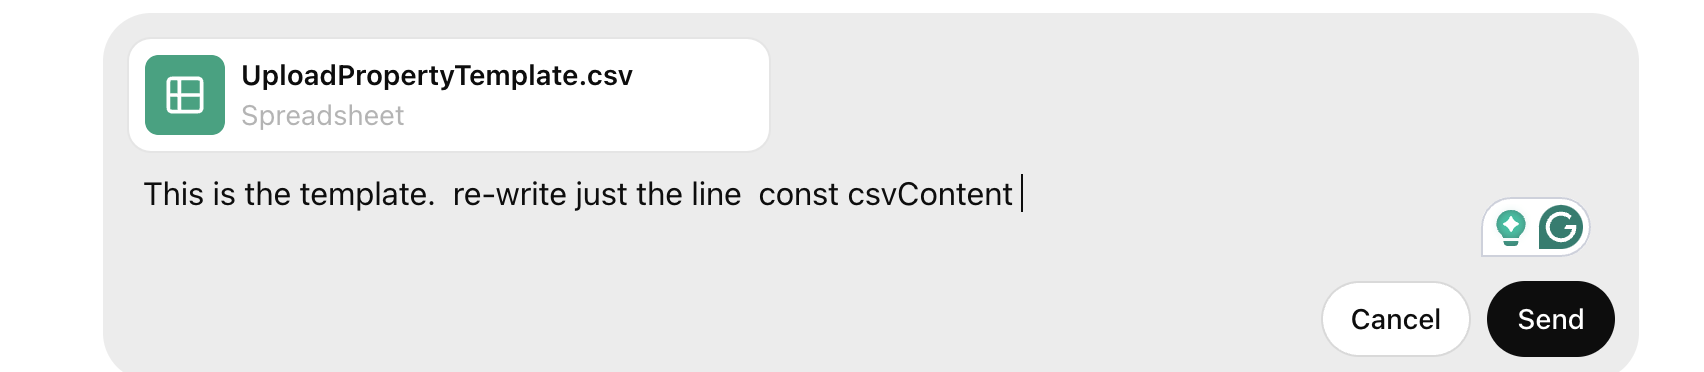 The Grimoire responds like this:
Receiving the file into your Workflow
So now you have a way of collecting data and sending it to your World of Workflows environment. Let’s ask ChatGPT what to do next: