Creating and managing tables
To create a new Table (table) in the User Configurable Database, follow these steps:
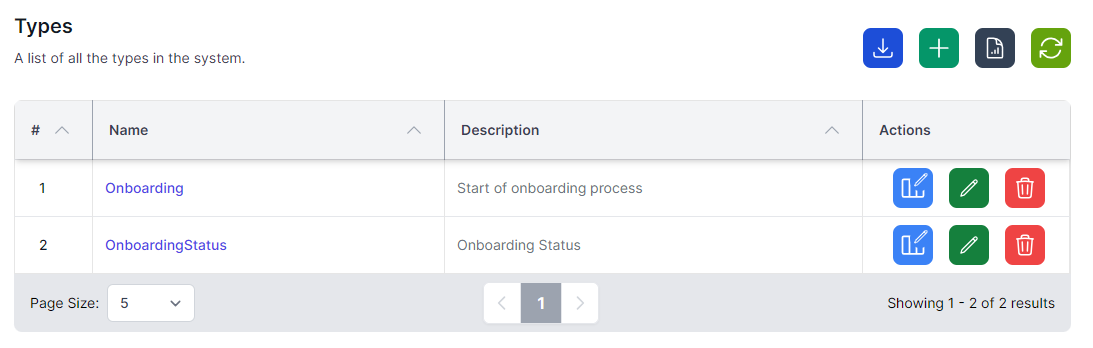
- Navigate to the User Configurable Database section in World of Workflows, by going to Admin then Tables
- Click on the Add Tables button.
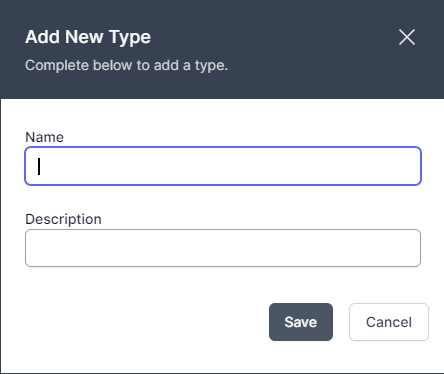
- Enter a name for the table and a brief description (optional).
- Click Save to confirm.
Once your Table is created, you can begin adding fields:
- In the list of types, identify the type or table you want to work with.
- Click

- Click on the Add Column button.
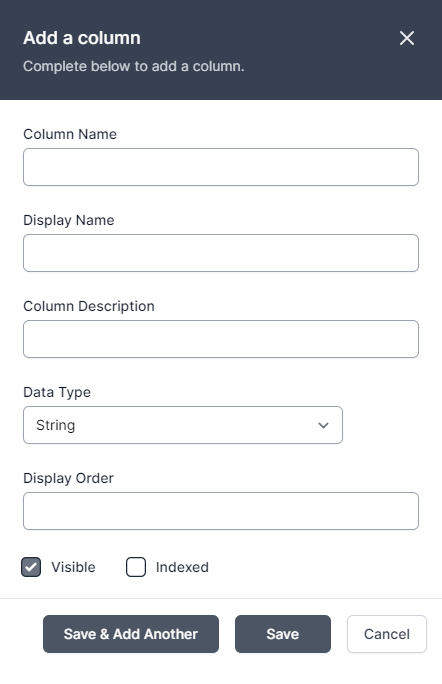
- Enter a name for the column and choose the Name, Display Name, Column Description and an appropriate data type (e.g., text, number, date, etc.).
- Configure additional column properties, such as display order, visible and indexed.
- Click Save to confirm or Save & Add Another to save and add another.
To manage existing tables, you can:
-
Edit table names, descriptions, and field properties by clicking on the corresponding
 button.
 -
Delete tables or fields by clicking on the
 button (be cautious, as this action is irreversible and is designed to work only if you don’t have any entries for this Table).
A word about data types
Every time you create a column, it needs to have a data type. This tells World of Workflows how to display the data and is efficient in how the data is stored by the database. The list of available data types is below:
| Name | Description | Example Uses |
|---|---|---|
| Big Integer | The Big Integer represents an arbitrarily large integer whose value in theory has no upper or lower bounds. Integers are whole numbers, positive or negative. | Commonly used as Id’s for items where they may grow large, this is the type used as the Id for every object in the system. |
| Reference | Connects two Tables together by a key field. | The Title column of the referenced Table will be used in dropdowns of the referenced Table’s data |
| Integer | Whole number, positive or negative. | The integer is a whole number which commonly is used to represent a count of objects, e.g. 3 people or 5 cats. |
| Decimal 2 | Number with two decimal places. | This is a number with two decimal places, commonly used to represent currency |
| Decimal 5 | Number with five decimal places | This is commonly used to represent the results of calculations, or distance |
| True/False | The Boolean or Bit Table | This is used to represent where we have a state that can be true/false, yes/no or off/on. |
| String | A collection of characters | The string can store words, sentences, paragraphs, books or any other data stored as Base64Encoded. |
| DateTime | The Date and Time | Used to store instances in time, this is stored in the system as UTC[^1] and is presented in the system in local time. |
| Url | Uniform Resource Locator | This is a web link |
| Embed | Embed Code | Not currently used, this is a string which gets rendered in the page as an embed code. |
Relationships
You can create relationships between types in World of Workflows. You do this by adding a column with the data type Reference and choosing the table you would like to relate to.
Relationships allow you to define how objects are related to each other.
However, World of Workflows offers a single way to create relationships, but you can implement the three types of relationships by following the guide below:
Imagine we have Table_A and Table_B
- A one-to-one (1:1) relationship is easily established by adding a column in Table_A with data type Reference set to Table_B.
- A one-to-many (1:∞) relationship between A and B is established by adding a column in Table_B with data type reference set to Table_A.
- A many-to-many (∞:∞) relationship between Table_A and Table_B is created by creating a new Table (Table C). This has two columns, one is a reference set to Table_A and the other is a reference set to Table_B.
Whilst the first two types will appear in the user interface, the interface does not understand many to many relationships, however it is possible to develop a workflow that understands this structure, and therefore a custom web UI that is able to work with and manipulate it..
Editing Columns
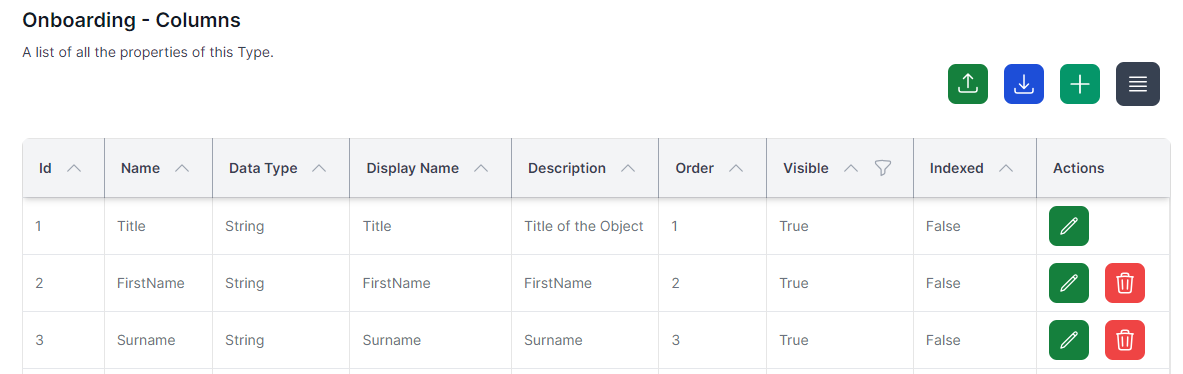
To edit a column, Navigate to the type itself by going to Admin then Tables and then clicking the type.
You can then click Columns to see the list of columns and click Edit to edit each one.
Deleting Tables
If you navigate to Admin then Tables you can click Delete Table icon under Actions to delete a type. Note: this only works if there are no data instances in the type.

Clicking Delete will immediately delete the type. If you have done this in error, you can easily recreate the type.