Creating a Workflow
To Work with your workflow definitions, you need to be an admin in the system. If you are an Admin, you will see the Admin tab in the top Menu. Click Admin the click Workflows to go to the Workflow Dashboard:
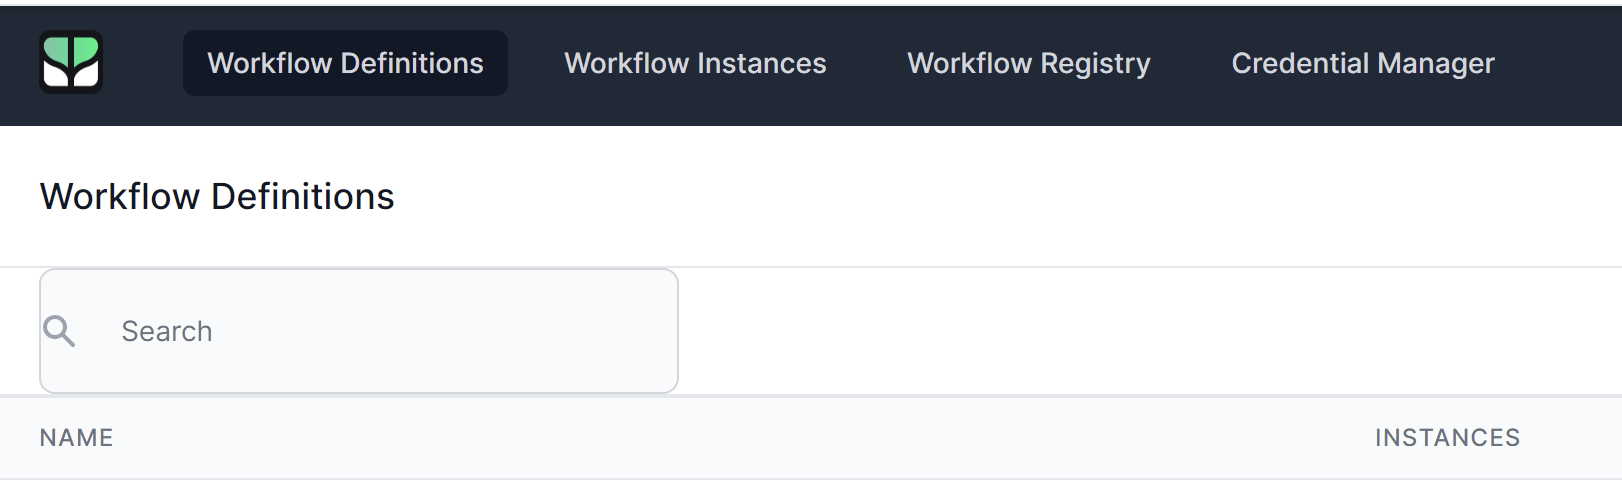
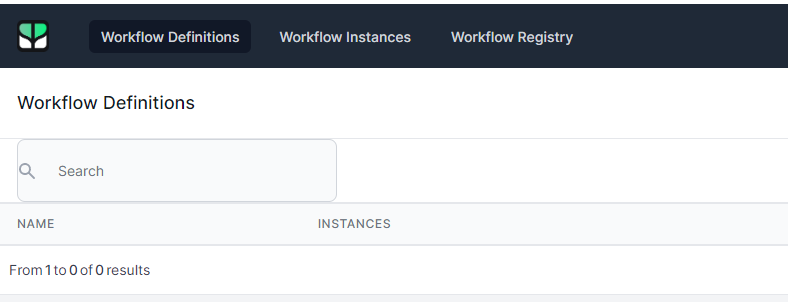
This will open the Workflow Dashboard in the Workflow Definitions Page
The four main sections of the Workflow Dashboard are:
- Workflow Definitions - Lets you work with your workflow definitions, the blueprints of your workflows.
- Workflow Instances - Lets you work with workflow instances, those times your workflow definitions have run
- Workflow Registry - This shows not just your workflows but any additional workflow definitions created by plugins.
- Credential Manager - This is where you can create and maintain security information that your workflows can use to supply authentication to external APIs.
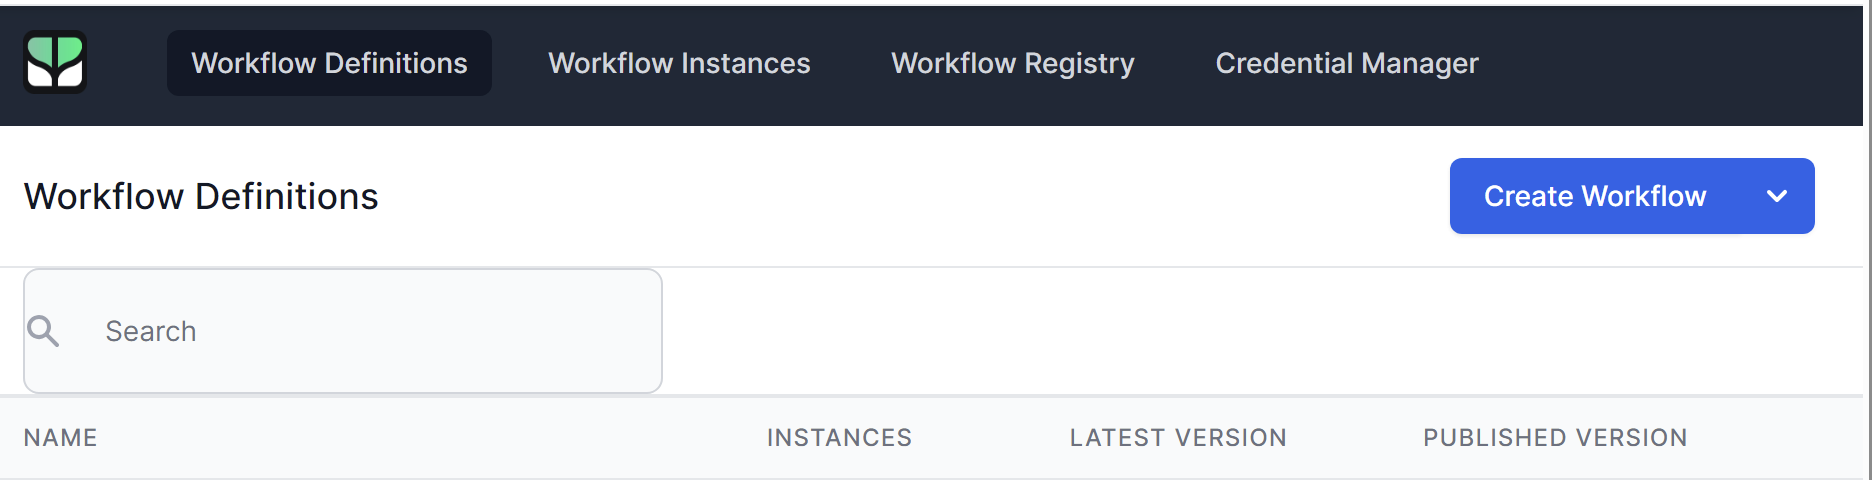
Create a Workflow
To create a new workflow, click the Create Workflow button in the Workflow Definitions section.
The Workflow designer will open. You can now start to build your workflow.
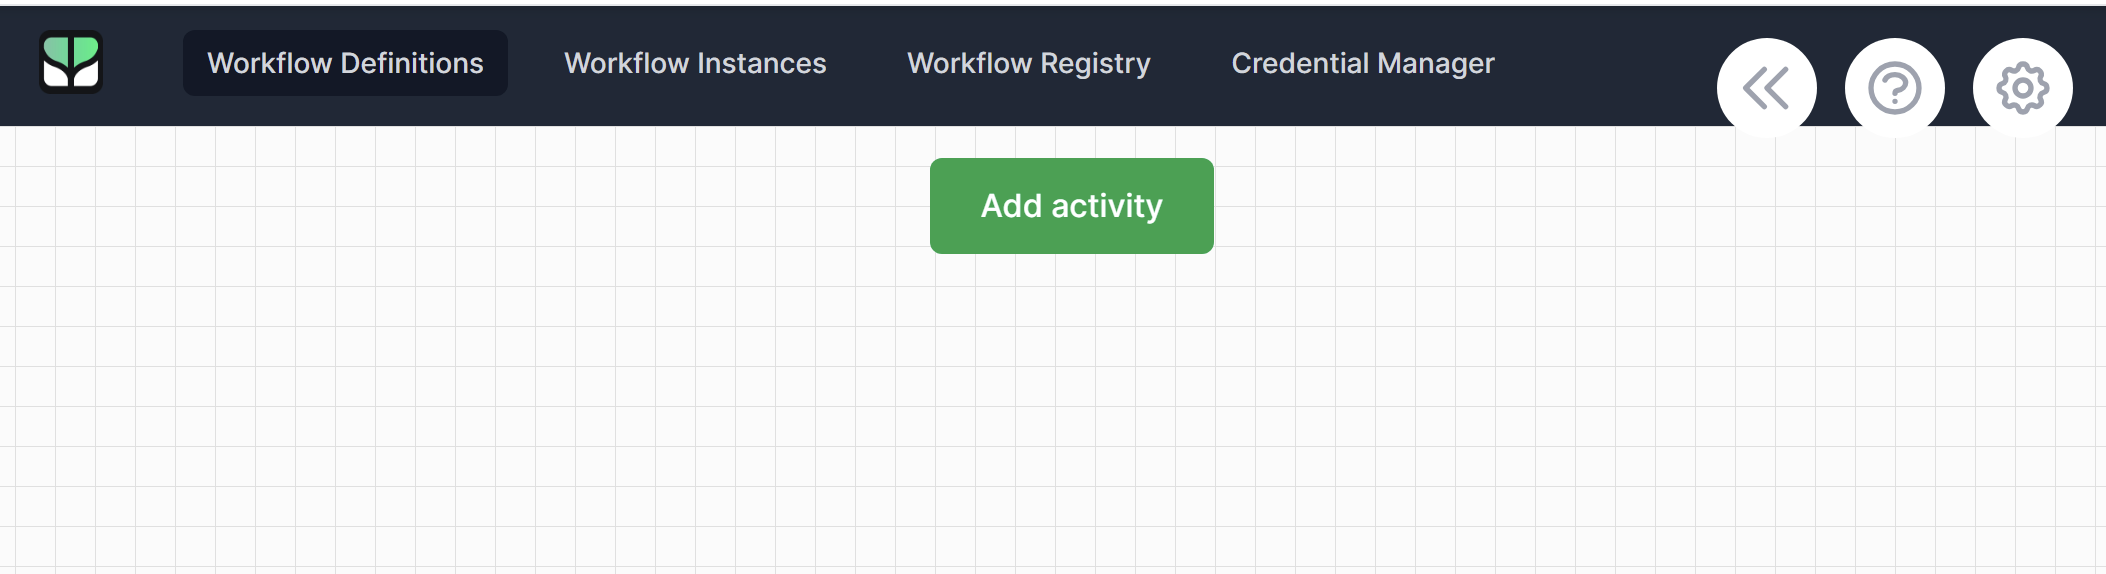
- Click Add activity to begin adding activities.
- The Publish dropdown allows you to publish, import and export a workflow definition.
- The « button shows additional information on your workflow including general information, and Version History.
- The ? icon gives help on using the designer.
- The Cog setting allows you to set various options for this workflow.
Configuring a Workflow:
Clicking the Cog icon will open the Workflow Settings dialog.
Settings
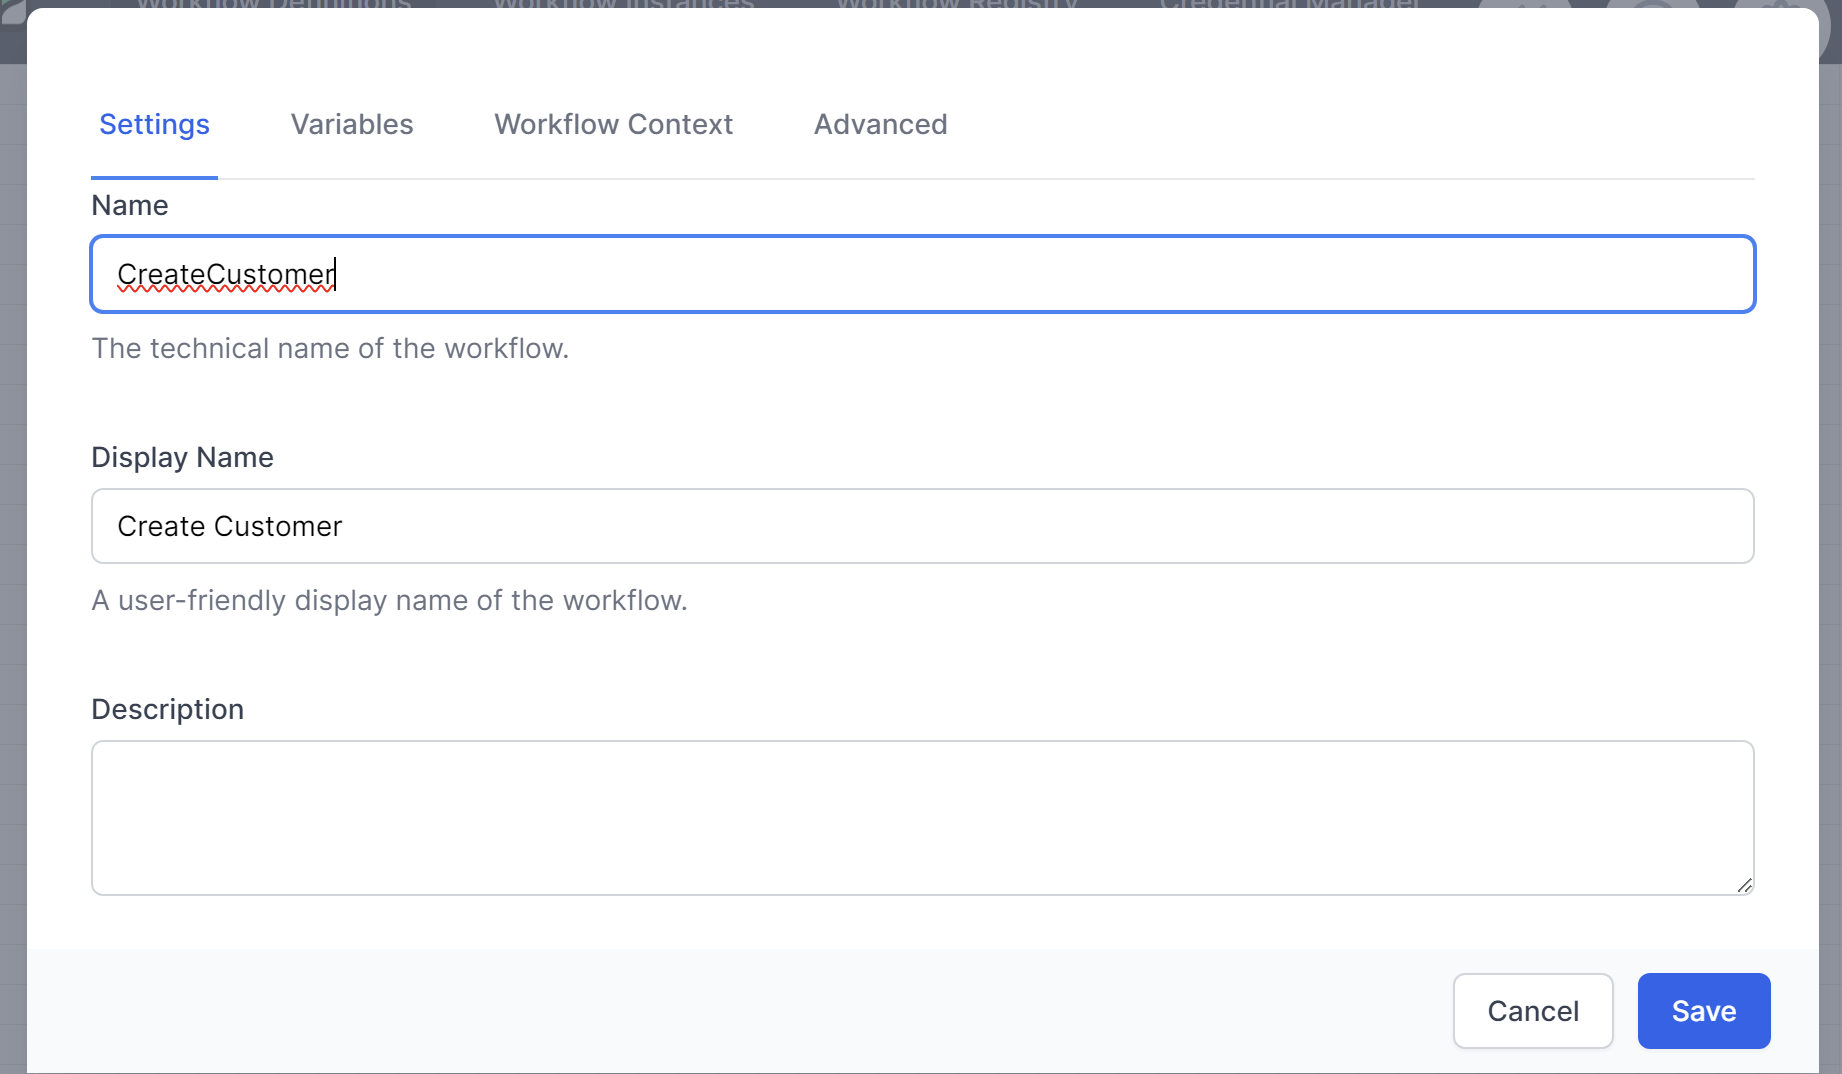
The Name of the workflow is the internal name it is known by. You can use this in the Run Workflow activity to call the workflow as a Child Workflow.
The Display Name is the name that will be shown to your end users in the interface.
The Description is a useful place to store information on the workflow and why you created it in the first place.