Starting Workflows
There are three main ways to start a workflow:
- Timer based Workflow - World of Workflows comes with a comprehensive scheduling system allowing you to run workflows at times that suit you.
- Http Based Workflow - Using the Http Activity, you can start a workflow by calling a URL that you create.
- Data Instance based workflow - Using the Object Instance Trigger activity, you can start a workflow from the Object Edit Screen.
These are described below:
Timer Based Workflow
- Start by creating a New workflow.
- Click Start and choose the Timers category and the
Cronactivity.
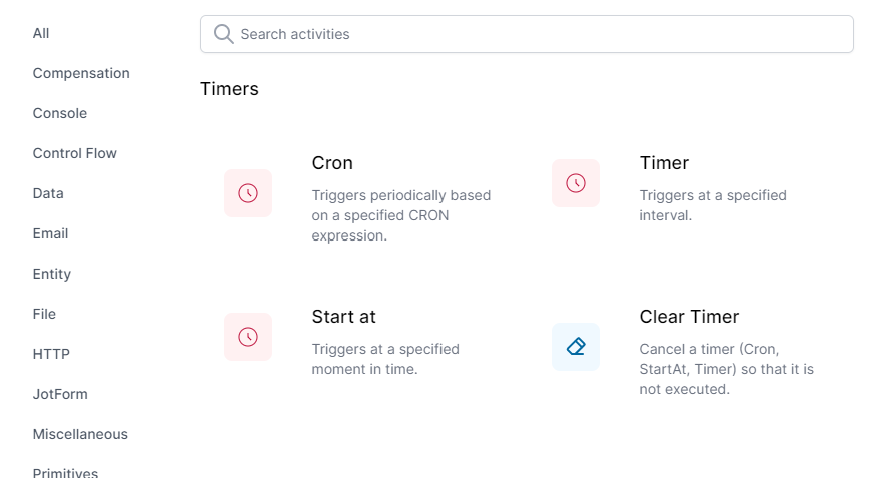
- Configure the
Cronactivity to run at the time you want the workflow to run. This is done using a Cron Expression. You can find examples of these here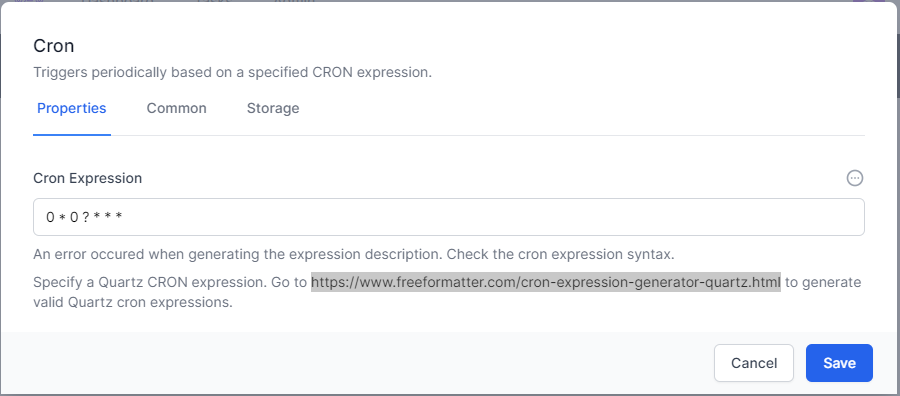
- Click Save
Now your workflow will run at the time you specify.
Http Based Workflow
- Start by creating a New workflow.
- Click Start and choose the HTTP category and the
HTTP Endpointactivity.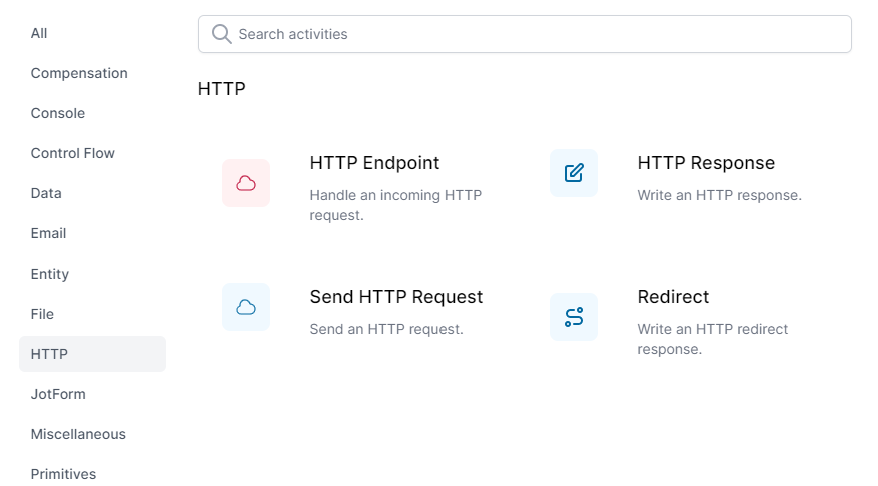
- Give the activity a path (a relative url, such as
/runMe), and select a method (you should use GET if you wish to run the workflow from a desktop shortcut). - Select Read Content if you wish to use data sent as a part of this request later in your workflow.
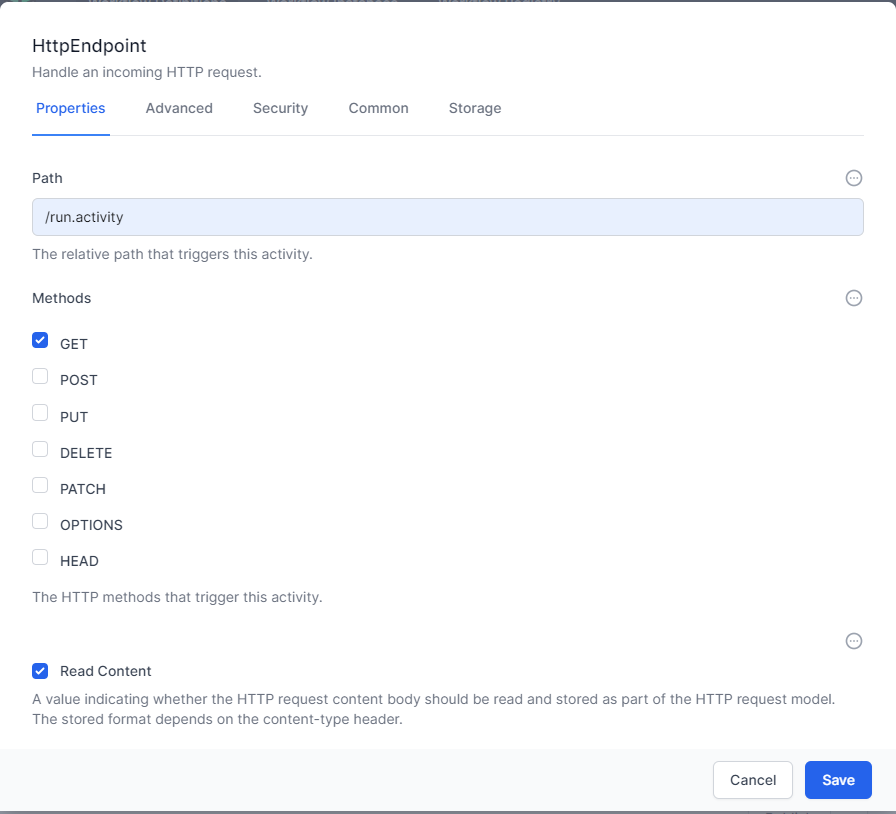
- Click Save
Now, whenever you navigate to the URL you specified, the workflow will run.
Remember The path (URL) is case sensitive!
Note: In Personal Edition, you may need to run this from a new InPrivate or Incognito session in your browser.
Data Instance based workflow
- Start by creating a New workflow.
- Click Add Activity and choose the Data category and the
Object Instance Triggeractivity - Right Click and Choose Edit
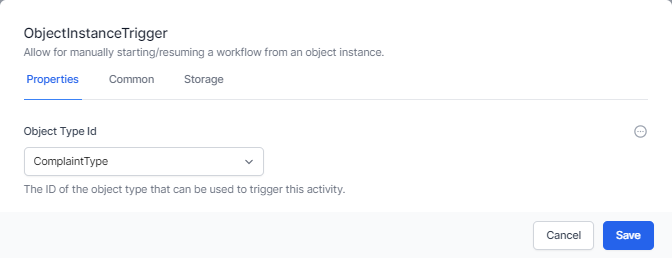
- Select the Table you wish to trigger the workflow from. This could be a Customer type if your database contains a list of customers.
- Click Save
Now, whenever you open an instance of the Table specified, this workflow will appear in the workflow tabs.
Admin-> Tables -> [Table Name] -> [Instance Name] -> Workflows
