Send html email using Office 365
World of Workflows can easily send HTML Email using Office 365 with a simple workflow, as follows:
Please esure you have established Office 365 credentials. See here
Step 1:
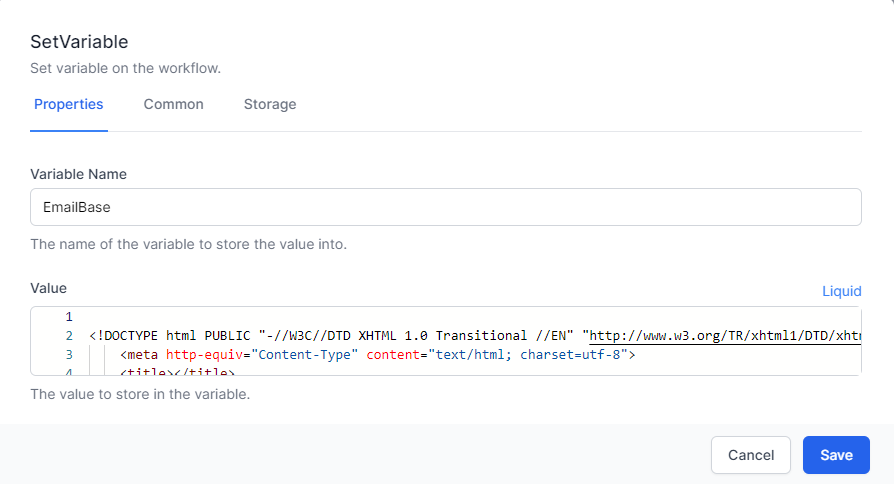
Activity: SetVariable
Save the HTML Email to a Variable, called EmailBase
Step 2:
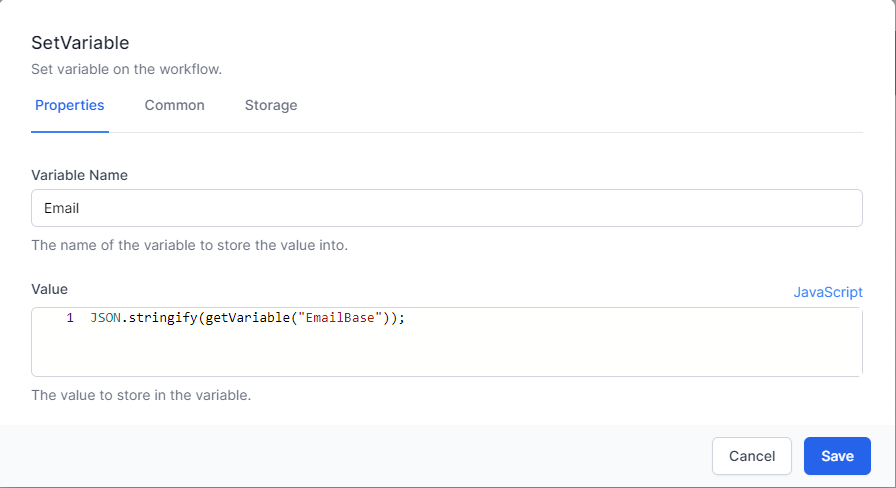
Activity: SetVariable
Use Javascript to “Stringify” the email, and save this in a new variable, called Email
Step 3:
Activity: Send HTTP Request
Send an Http request to Microsoft Graph to Send the email
- Url:
https://graph.microsoft.com/v1.0/me/sendMail - Method:
POST -
Content:
  {
  "message": {
      "subject": "EmailSubject",
      "body": {
          "contentType": "HTML",
          "content":
      },
      "toRecipients": [
          {
              "emailAddress": {
                  "address": "<RECIPIENT EMAIL>"
              }
          }
      ],
      "ccRecipients": [
          {
              "emailAddress": {
                  "address": "<CC EMAIL>"
              }
          }
      ]
  },
  "saveToSentItems": "true"
  }
Content Type: application/json
Read Content: Checked
Response Content Parser: Auto Select
Supported Status Codes: 202
On the Advanced tab, select the M365 credentials under Authorization
Other ideas to set the content
Here is another example of setting a variable to hold the data to be sent in the email.
First, we set up our standard Setting to contain Key and Data1 fields. The Key will be to ‘EmailBody’, the text we want in the email will go in Data1.

Then we get the data from the database: 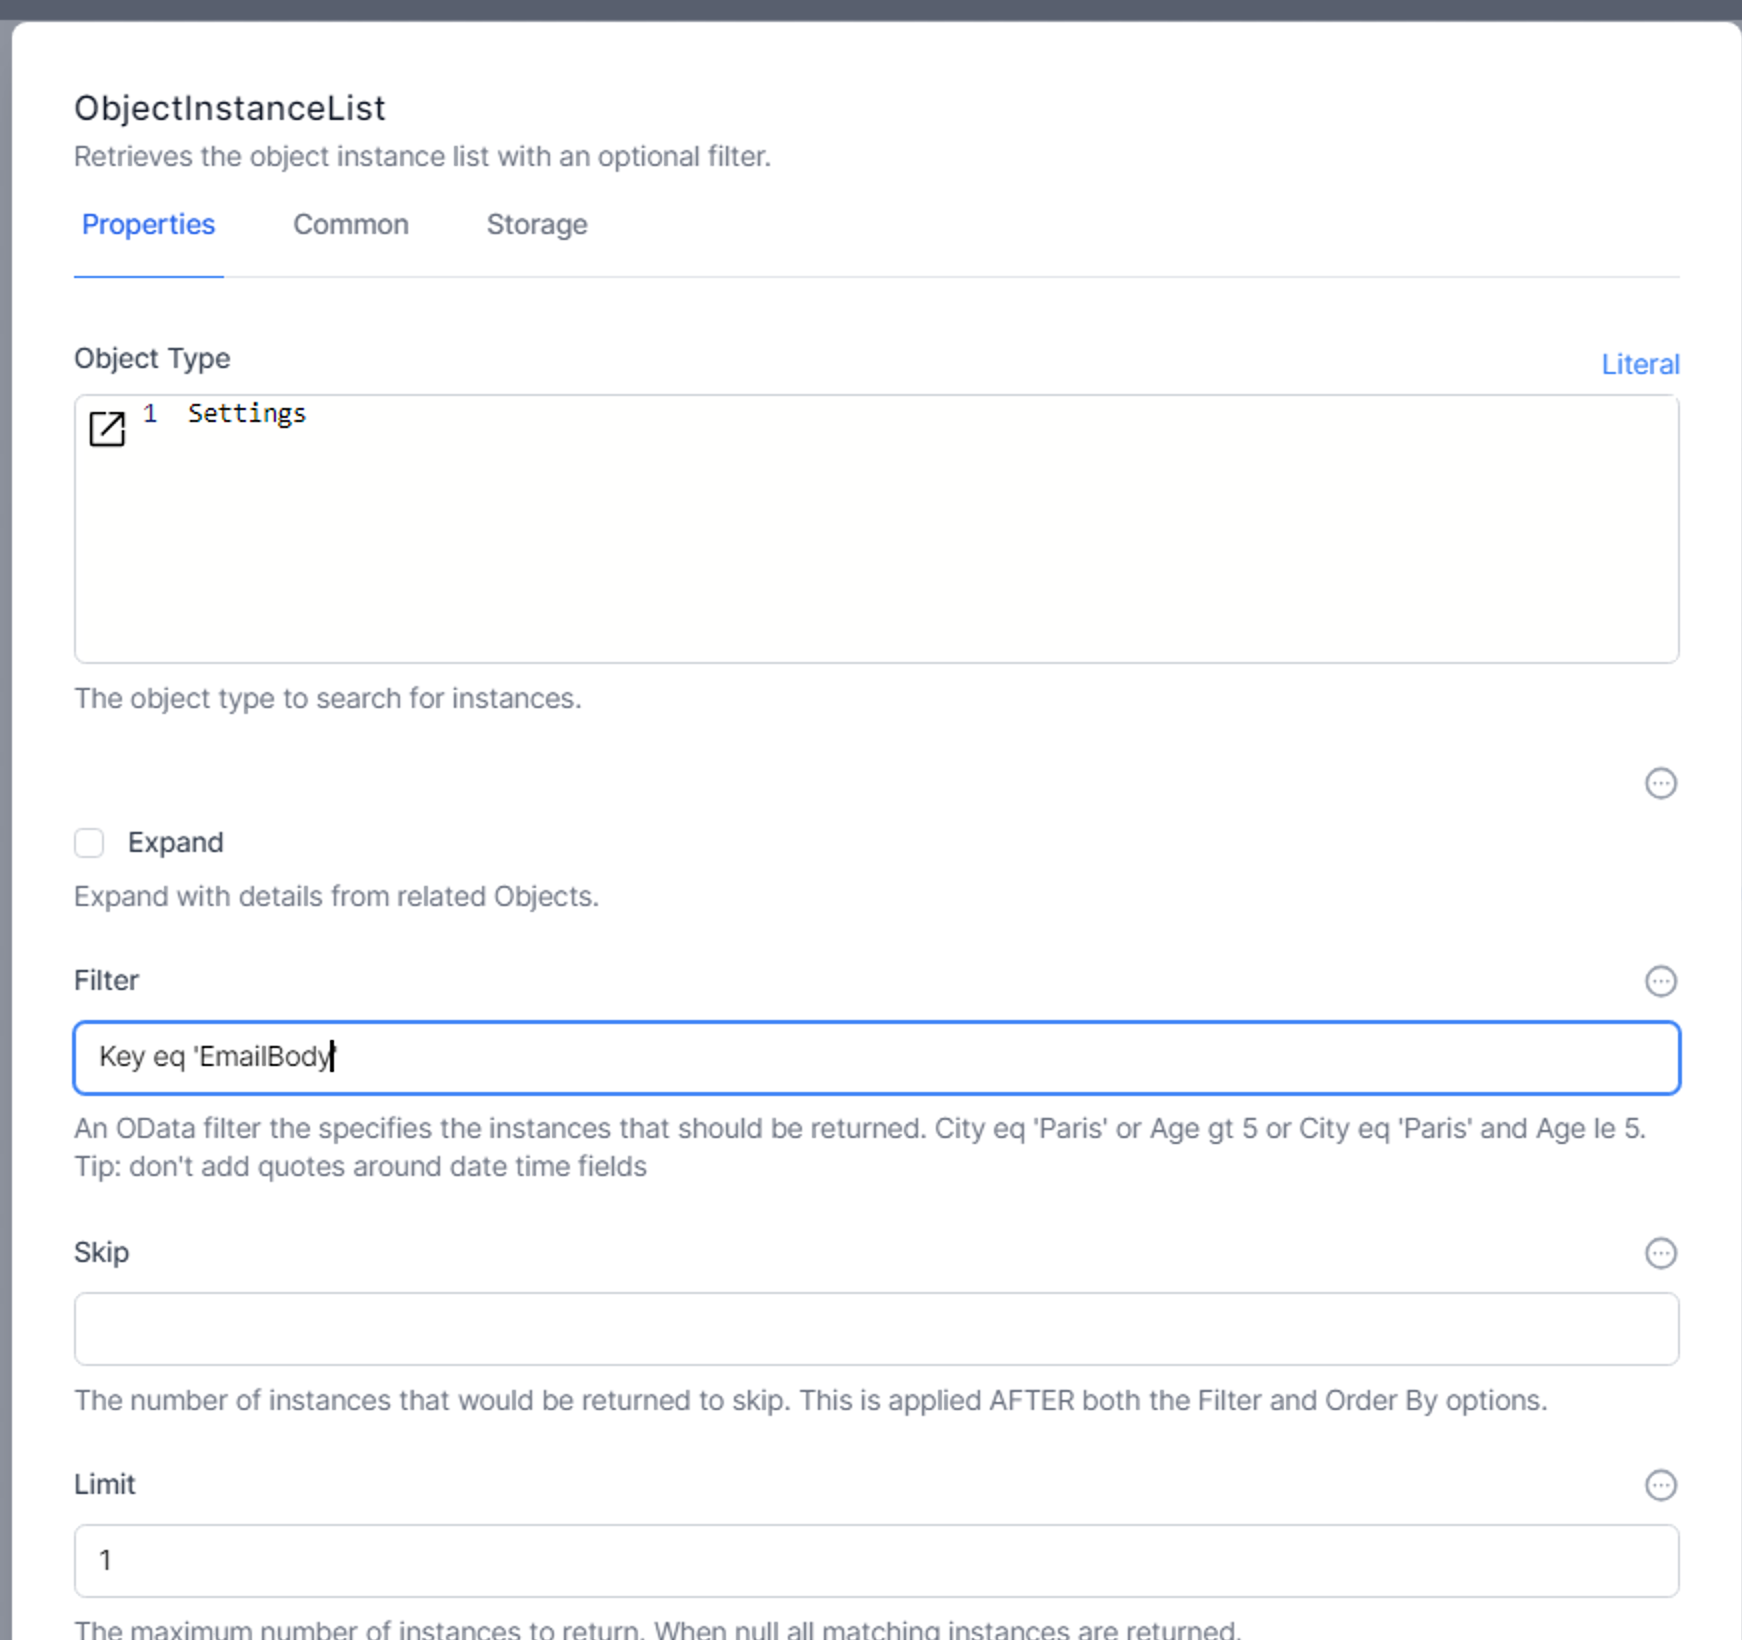
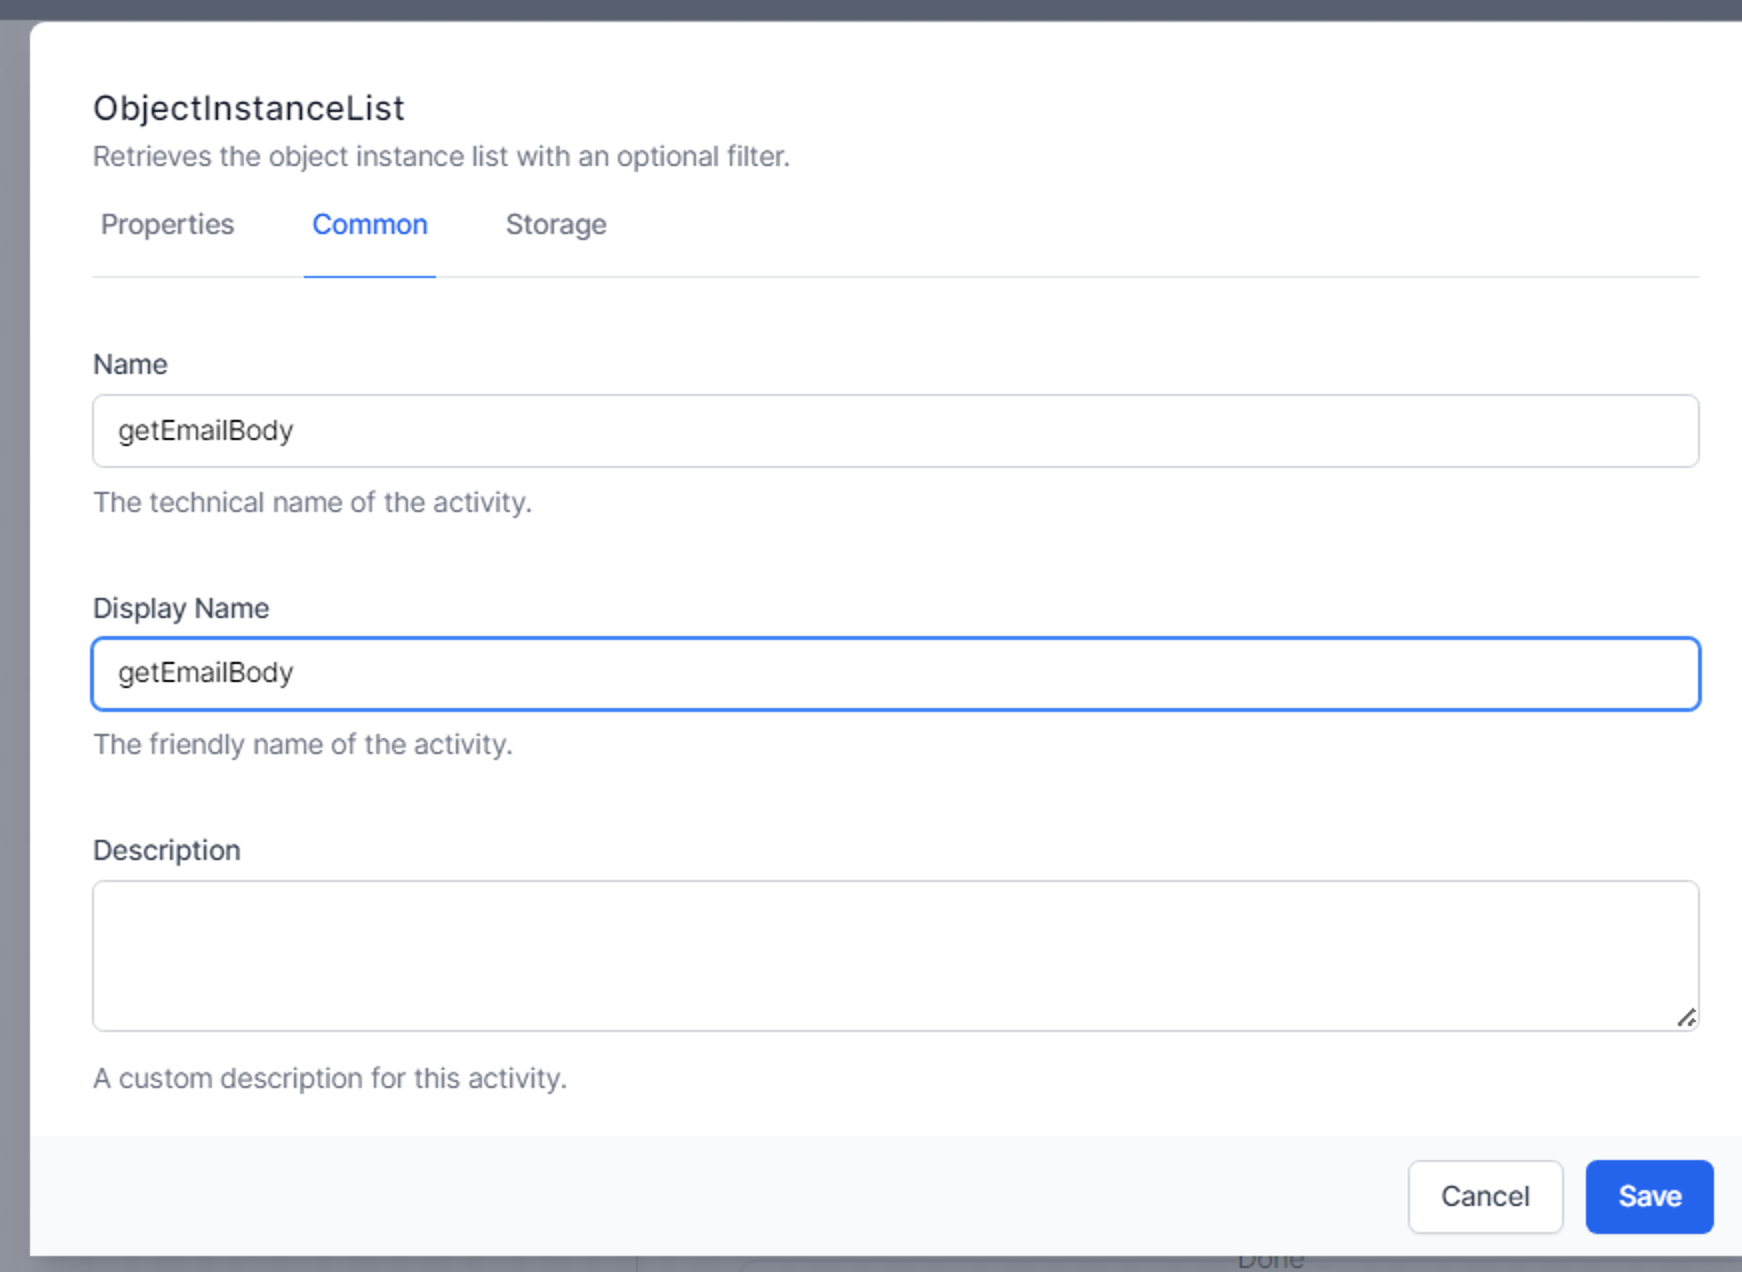
and add it to a variable. 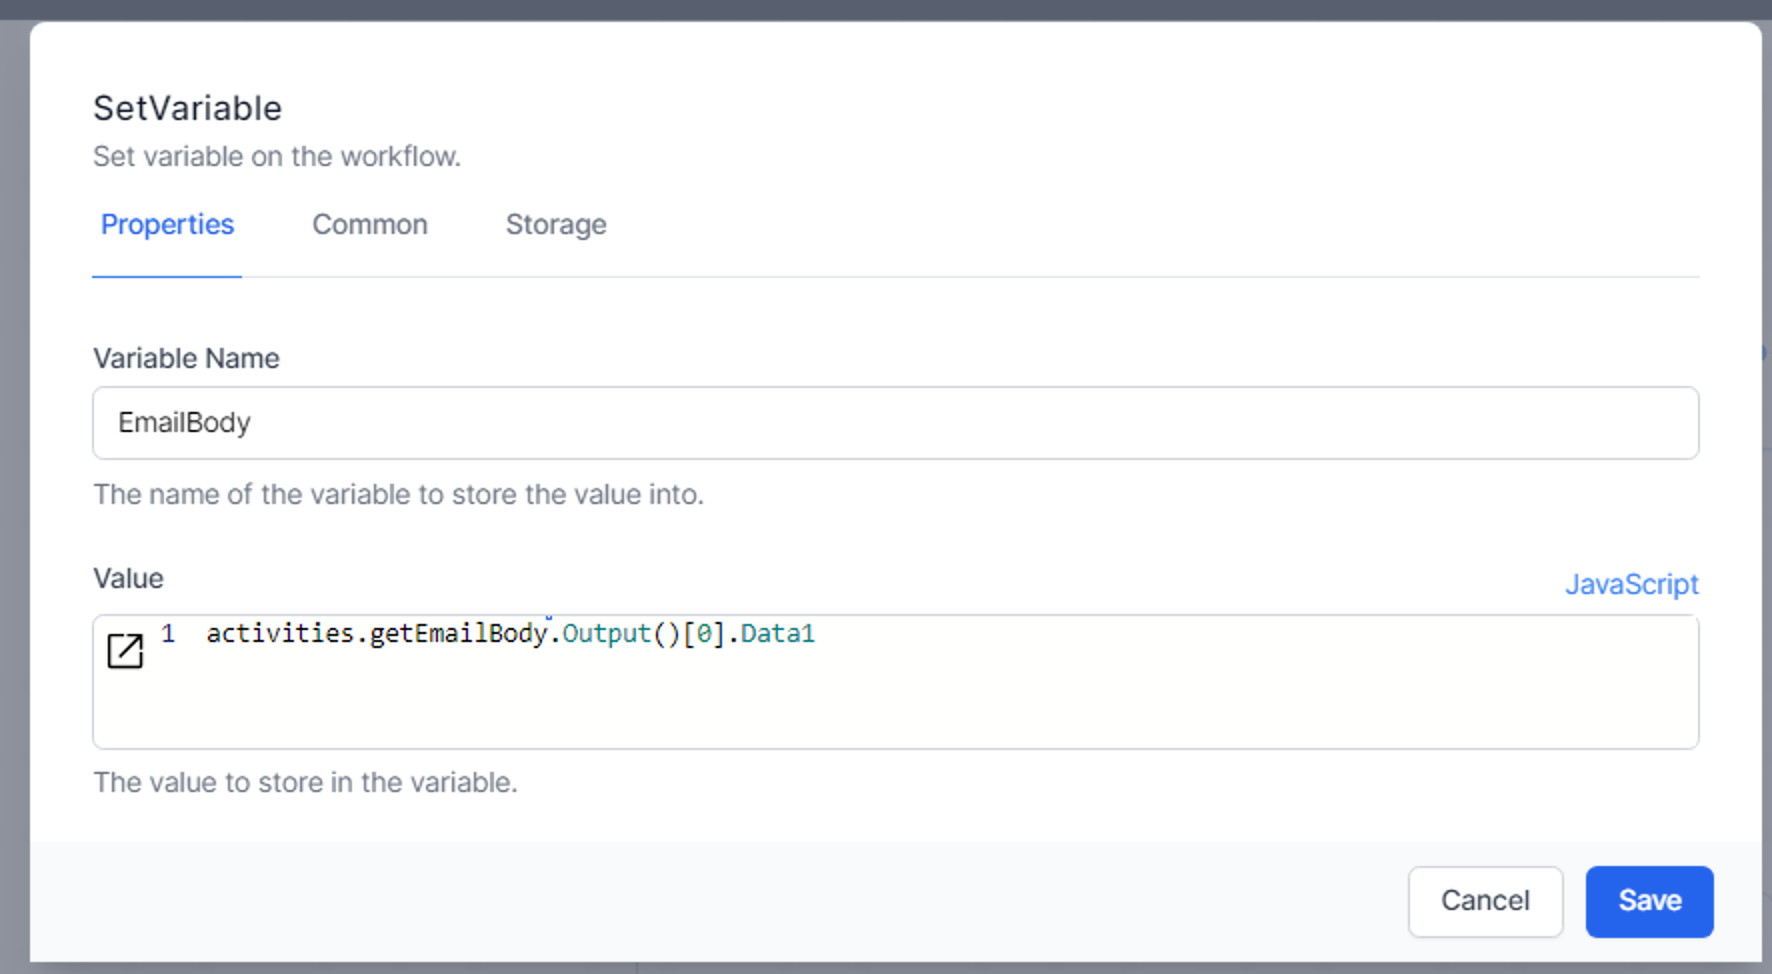
Note the use of .Output[0] in the formula. ObjectInstanceList returns an array of entries. The first entry will be [0], the 2nd will be [1] and so on. We know that we will have only one entry returned, so we don’t need to loop through the results: we can confidently access the Data1 field from the first entry.
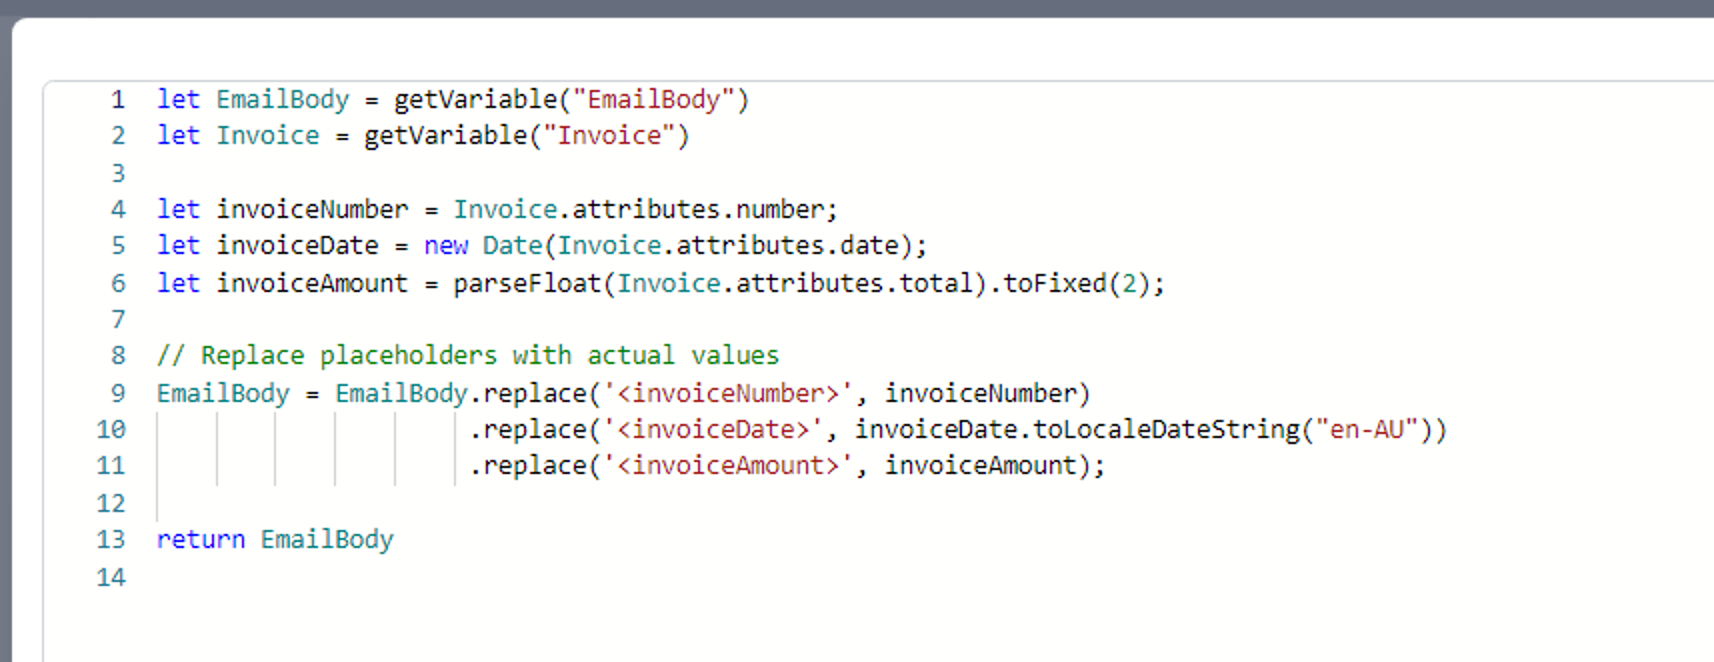
We can use replaceable values in the Data1 field and substitute these using this type of JavaScript: 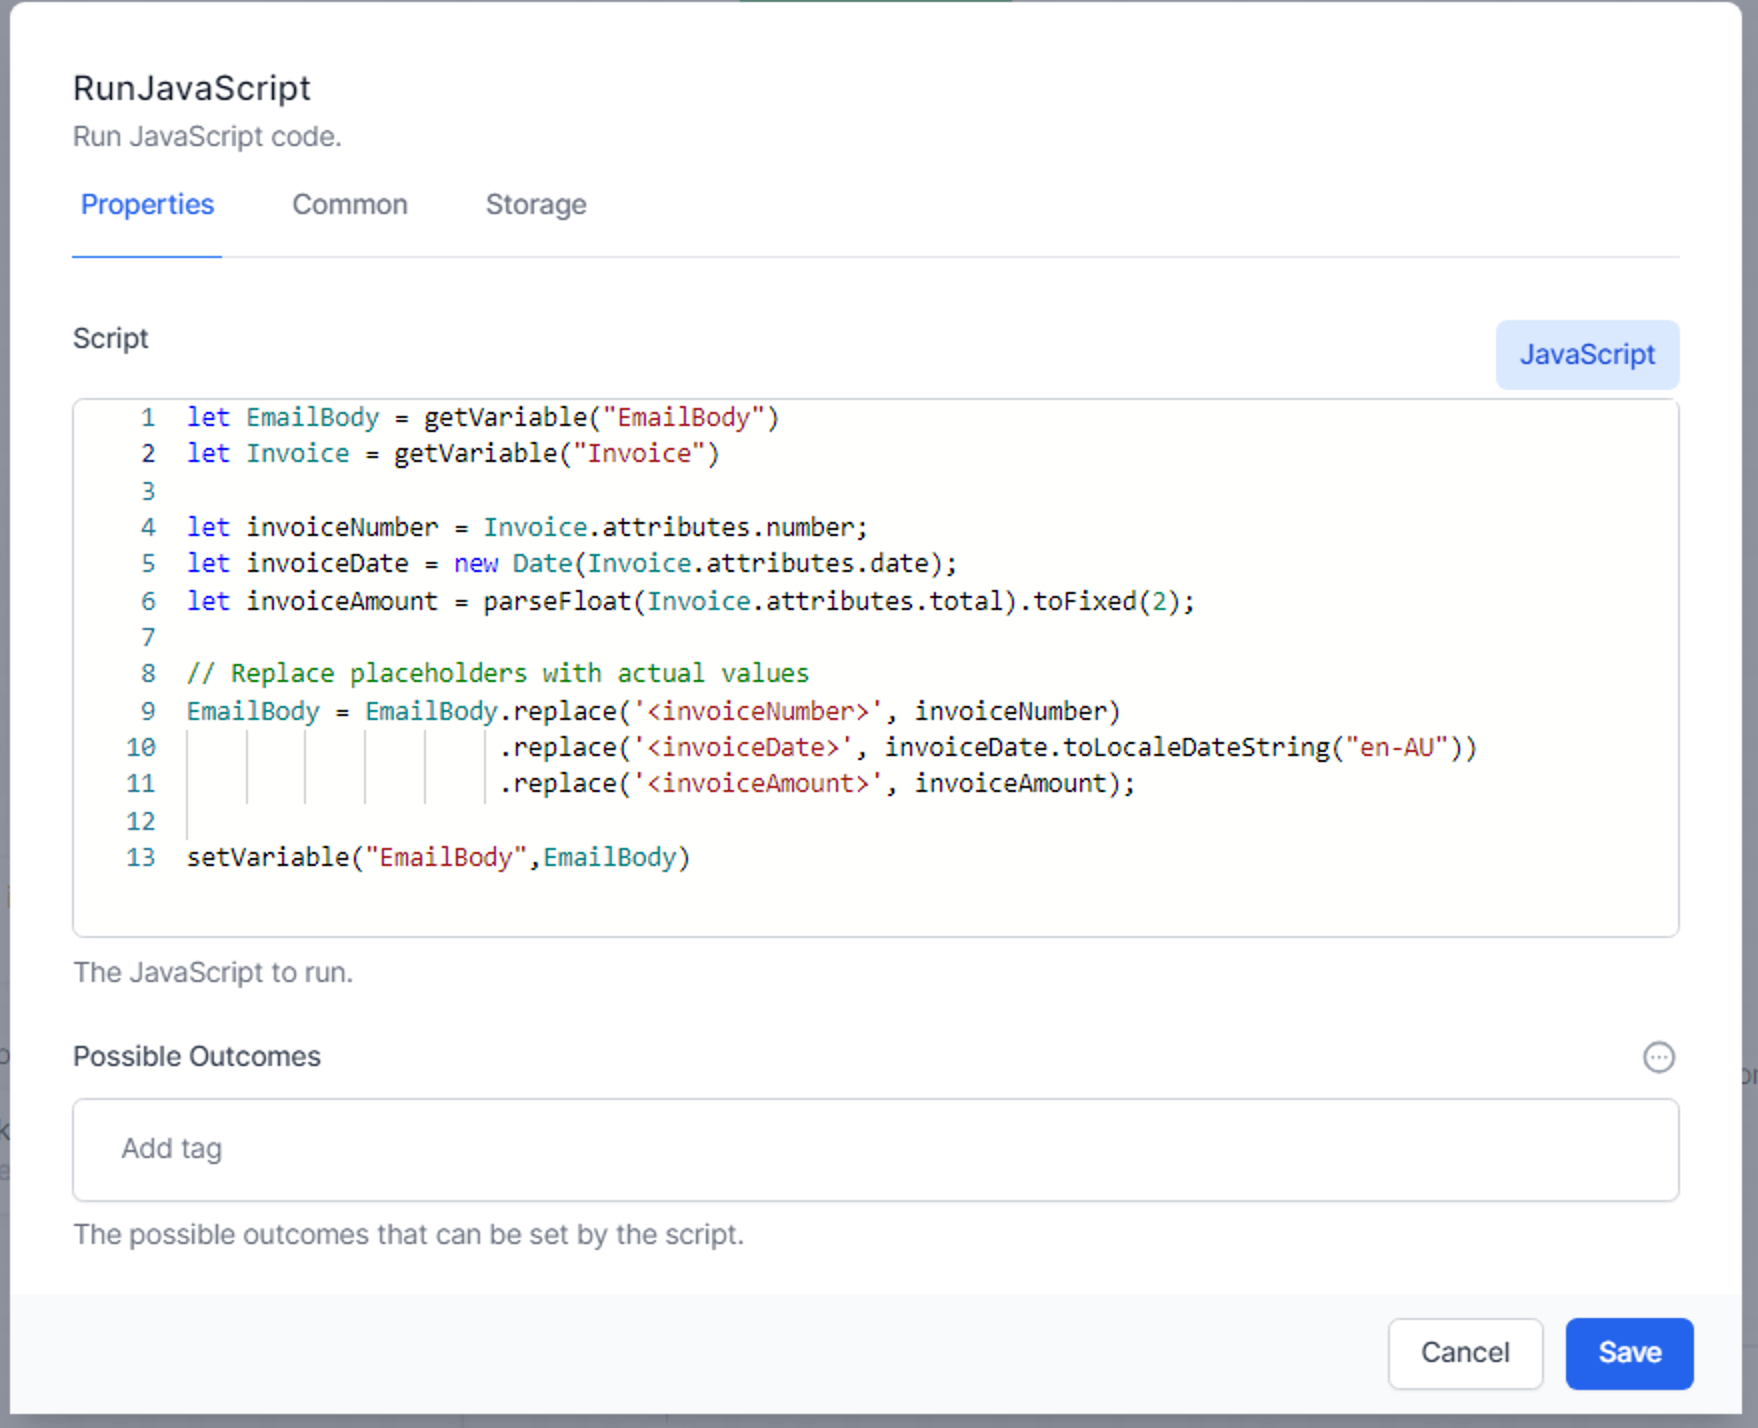
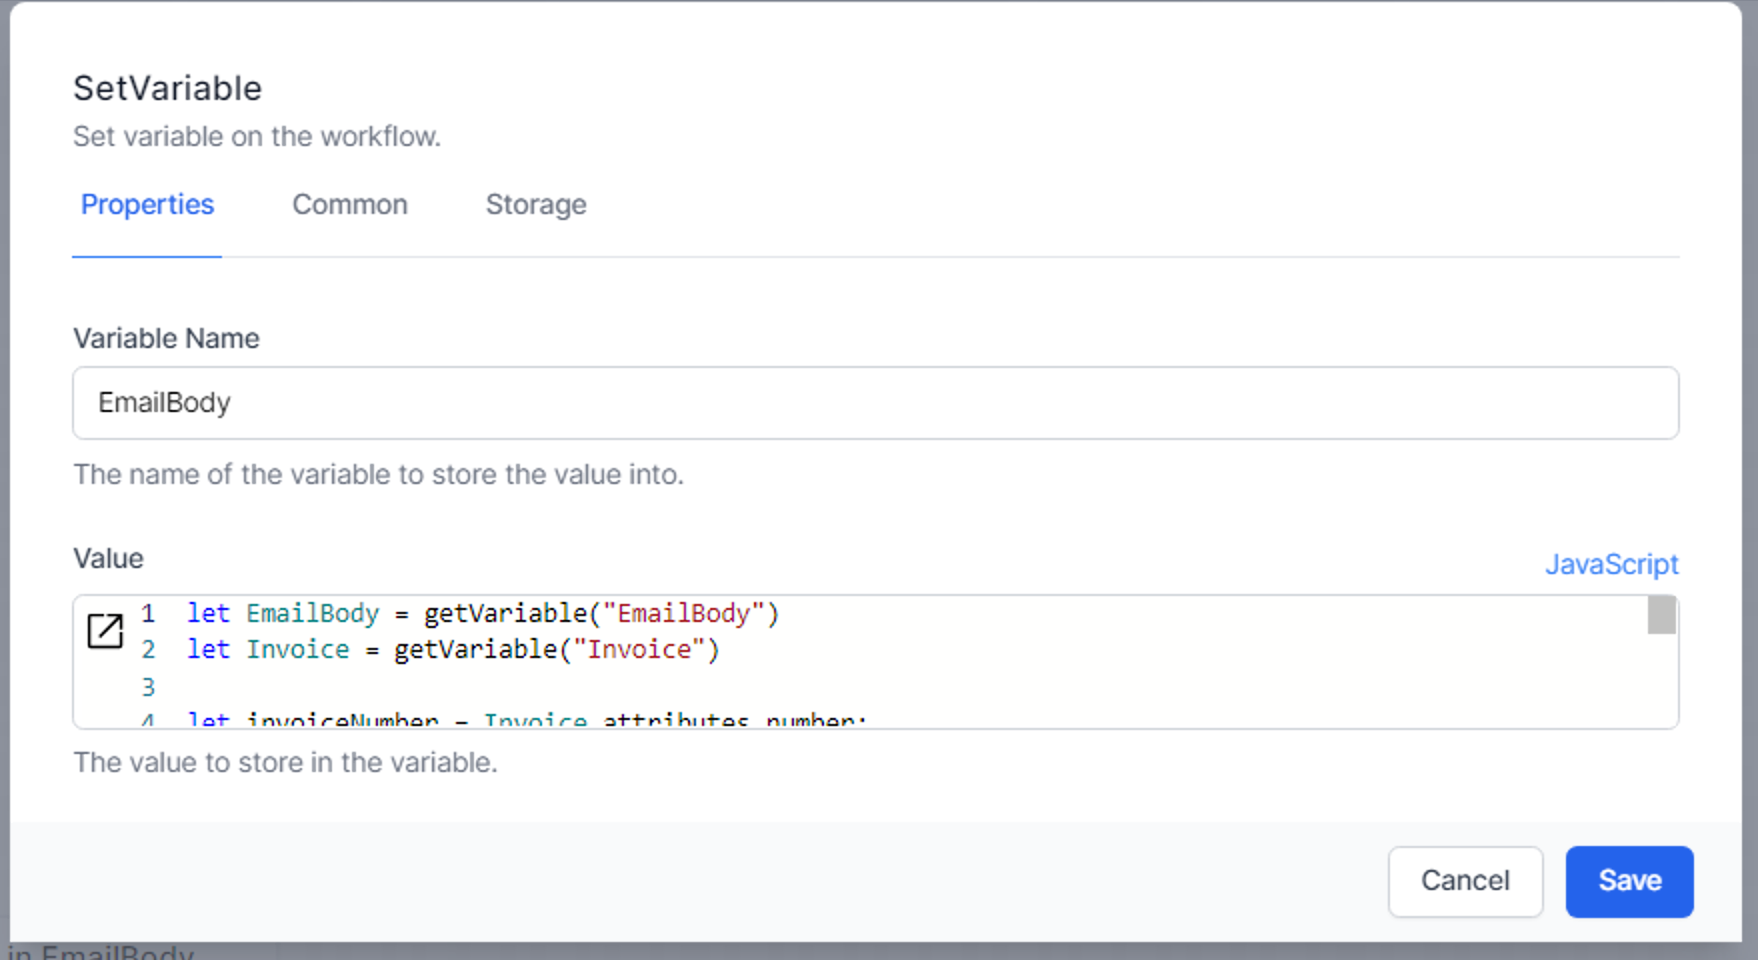
This example uses a JavaScript activity and the setVariable command. It can also be achieved using a SetVariable activity: 