World of Workflows Business Edition
Installation Instructions - Self-serve installer
The Self-Serve installer allows a Global Administrator to install World of Workflows Business Edition in an existing Azure subscription.
Create the Azure subscription
If your Microsoft relationship is managed by a Customer Service Provider (CSP)) such as PAX8 you should go to the PA site to create the subscription. These instructions are for PAX8. Alternatively log into portal.azure.com and create a subscription as a PAYG subscription.
-
Log into Pax8 Portal and go to the Catalog. Search on Azure Plan. Configure it. It will be a PAYG plan, that will create a subscripotionin the client called
Azure subscription 1 - Go Portal.azure.com
- open tenant Properties. The easiest way is to search Tenant in trhe search bar at the top of the page.
- Enable access to the subscription by turning on this switch:
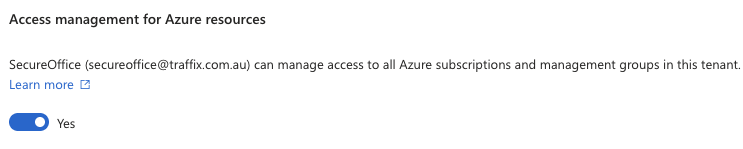
- Wait 10-15 minutes before you move to the next step.
- Go to the Subscription, and add yourself as Owner role to the subscription:
- Click Grant Role assignment, and select the Privileges administrator rolw of Owner
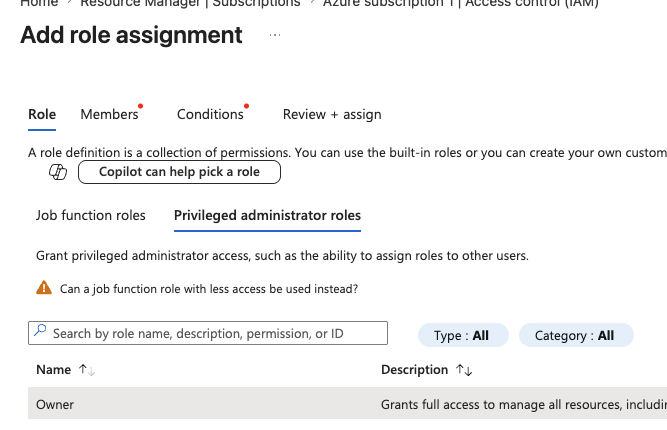
- Add yourself in the Members list
- Select at least this level of rights:
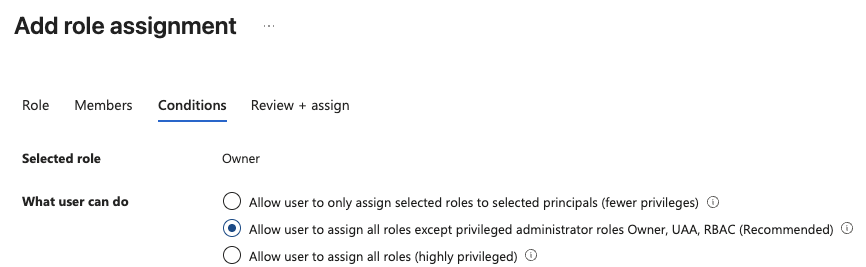
- Complete the assignment.
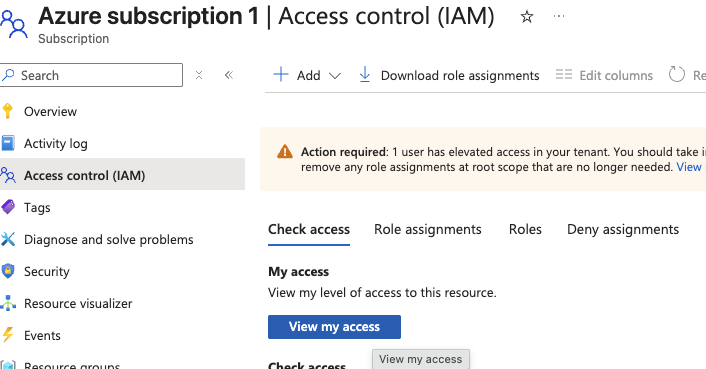
- Go to the Subscription and select Access Control (IAM). Under View my access you shoudld now see this:
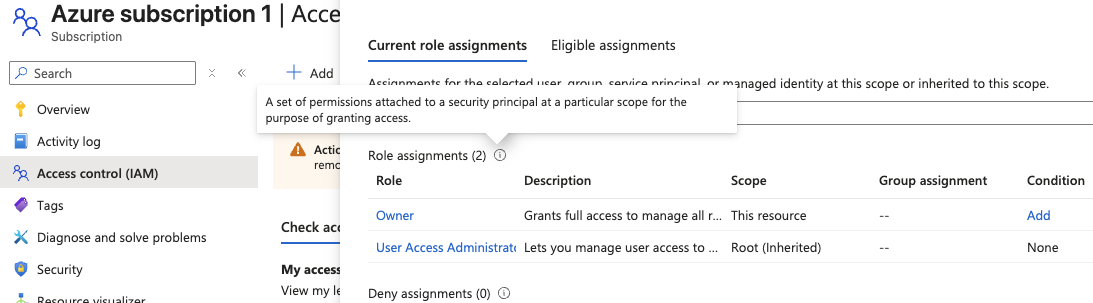
If errors occur, you might need to wait longer.
- Open https://wowcentral.worldofworkflows.com/SelfServeDeploy
-
Click signin to Azure
This should ask you to grant access. Tick the box and grant access. You may need to enble popups for the site. It should also load your subsription. If you have more than 1, select the appropriate subscription. - Enter a name for your system. Often we use the customer name. This does not have to be the desired website host name, but it can be.
- Click ‘Check Availability. This will ensure your name is unique in Azure, and populate the remaining fields.
- Confirm the remaining values. If you are unsure what they mean, keep them as defaulted.
- Your email address is prepopulated into Admin User UPN.
- Guest Admins can be invited by entering their email address.
- Select the App Service Plan Size. this can be changed later to grow. Start small.
- Click
Start Deployment- This will provision your new server.
- Monitor the Job Status window. It mat ask you to perform some additional actions.
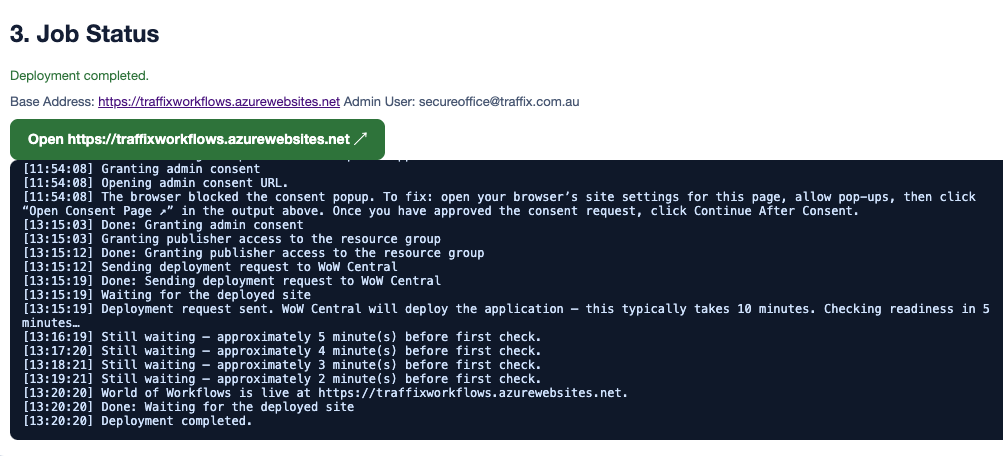
- Open the site once deployment has completed.
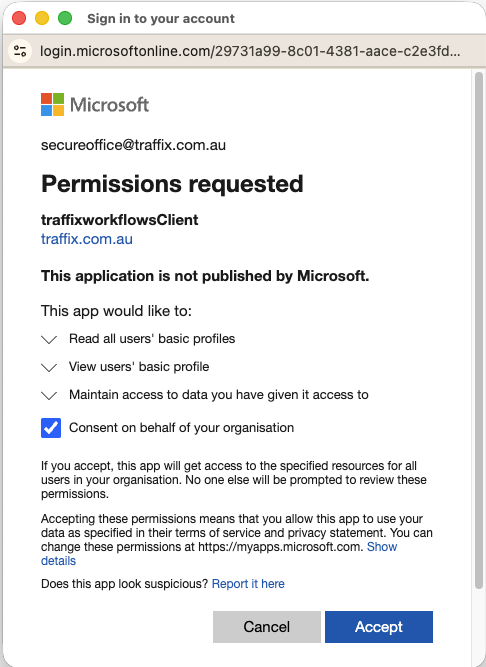
- Login. You will be asked to grant access. Tick the box and accept.
Populate your new World of Workflows Business Edition system
Once logged in, your new site will be empty.
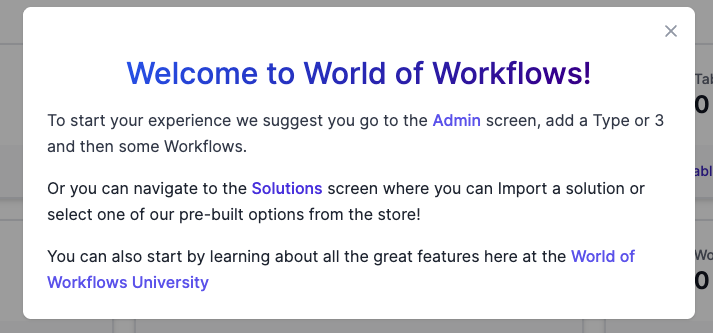
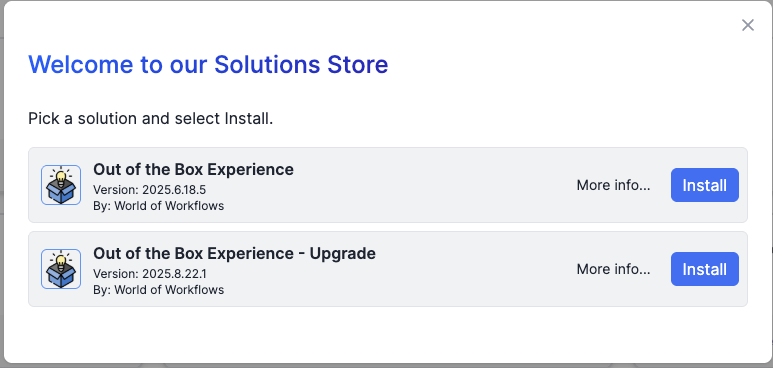
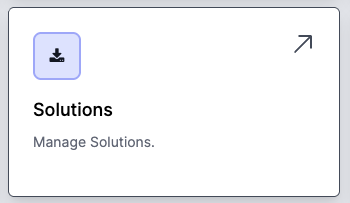
You may be prompted to install a solution from our Solution store. This dialog can be loaded at any time from the Admin -> Solutions card.
Installation Instructions - Obsolete
World of Workflows Business Edition is available on the Azure Marketplace here:
Installing Pre-requisites
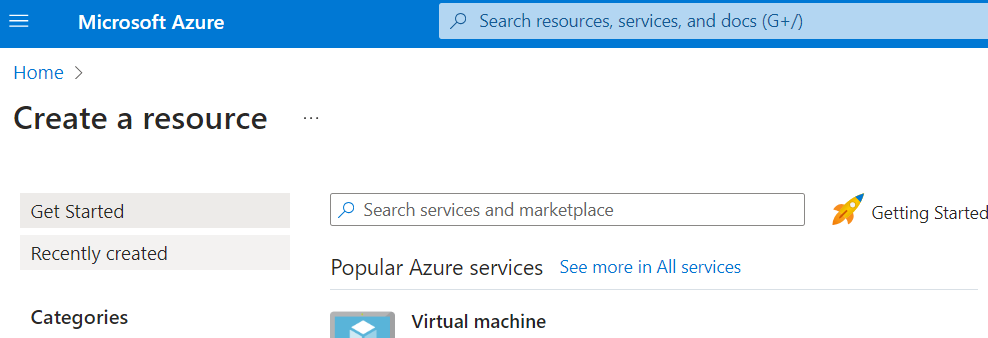
- Navigate to the Azure Portal

- Click + Create a resource
- Search for User Managed Identity.
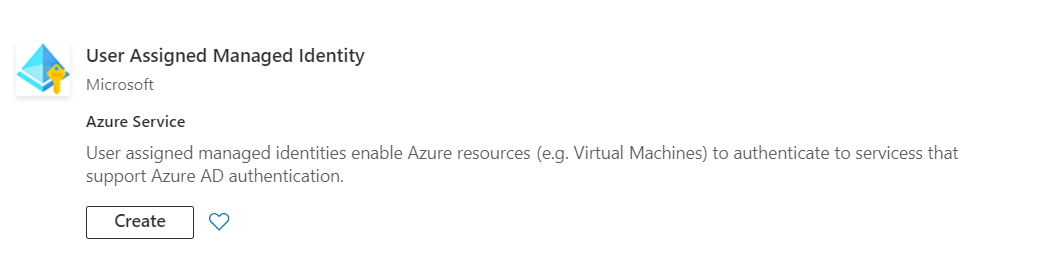
- Under User Managed Identity, click Create
- Create or choose a Resource Group, Set the Region to be your local region and give the Identity a name. We commonly use WOWBEInstaller.
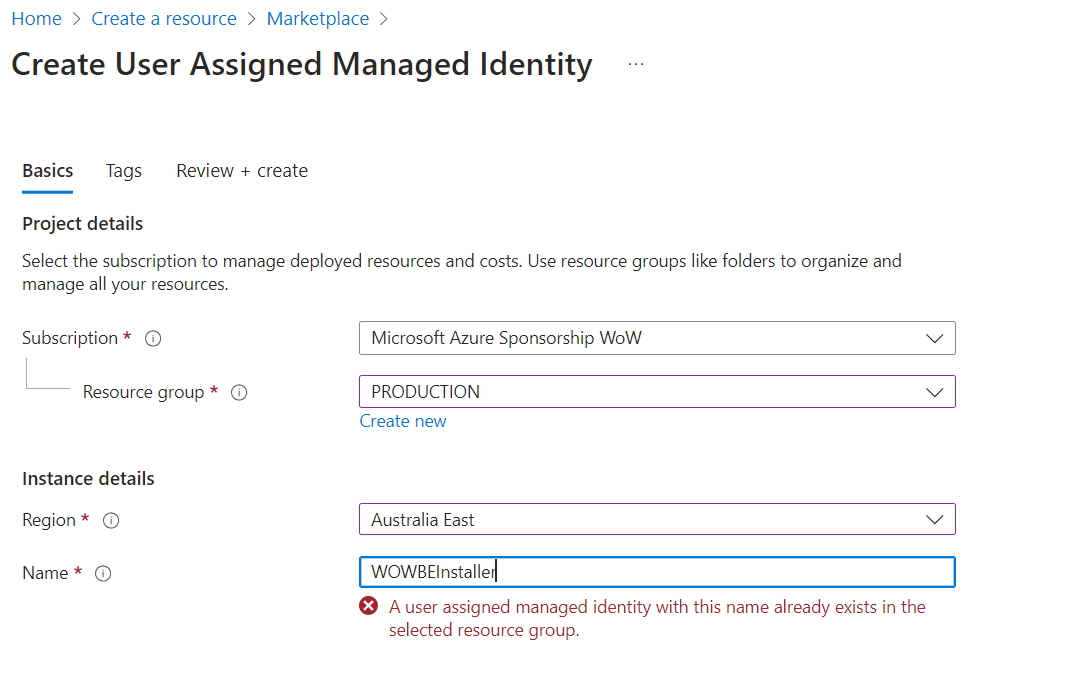
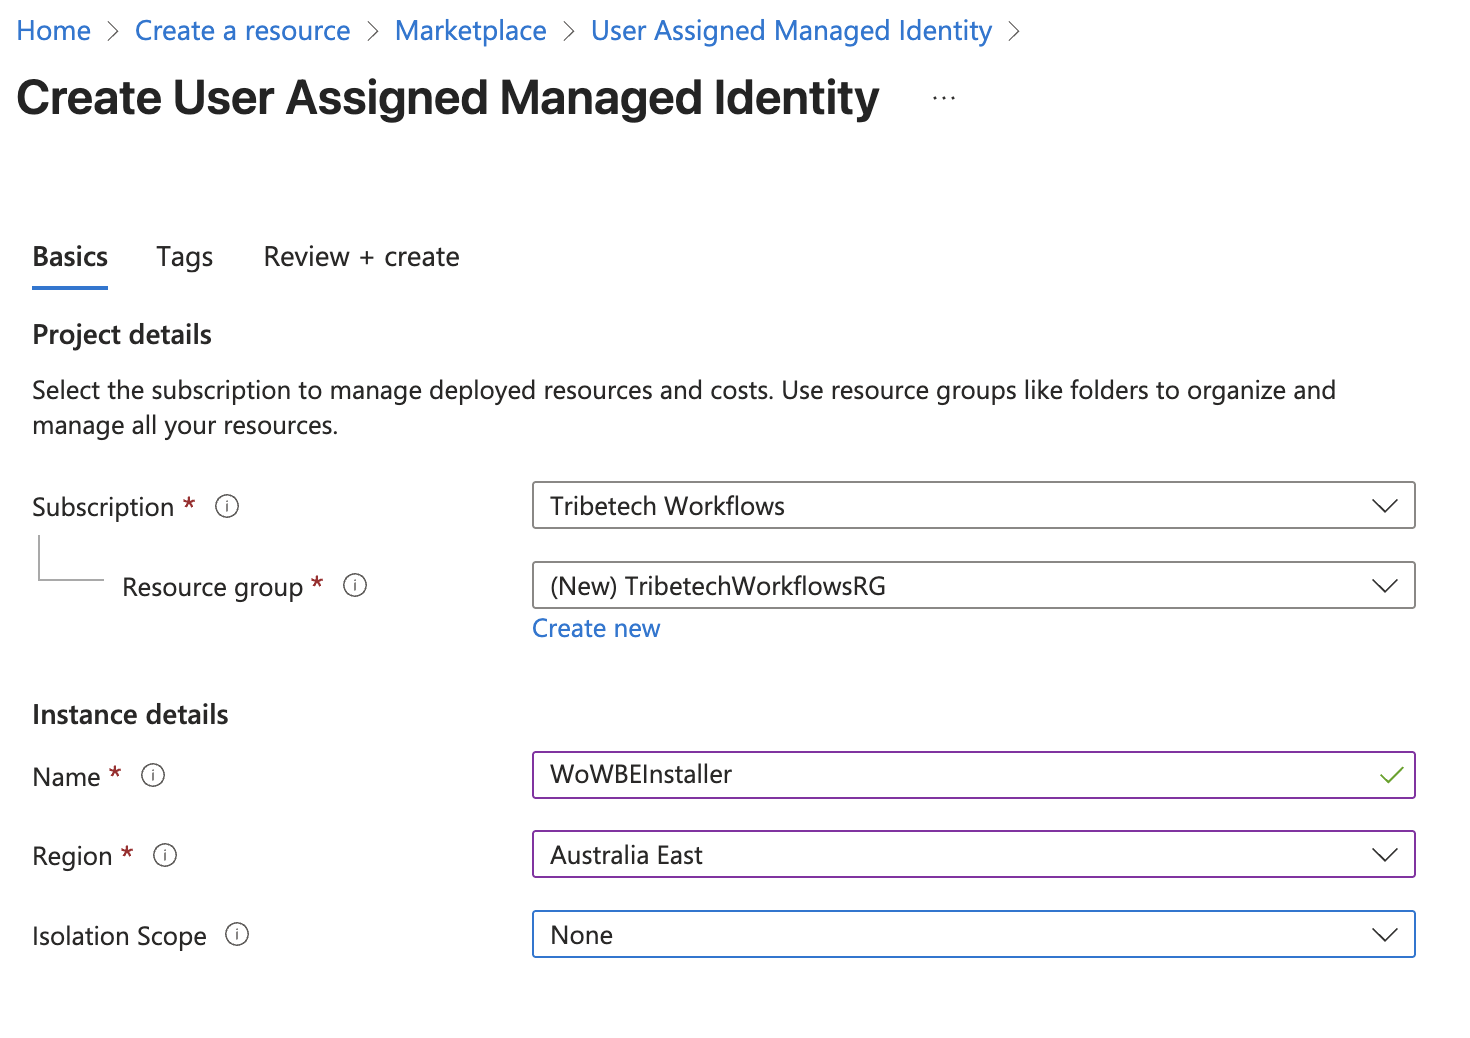
- Click Review + Create
- Give your managed Identity Permissions as follows:
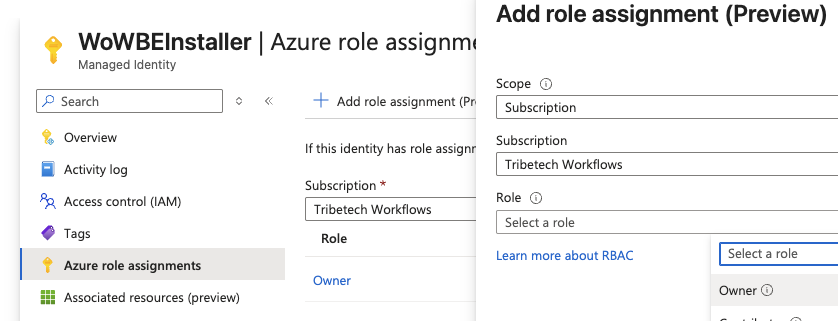
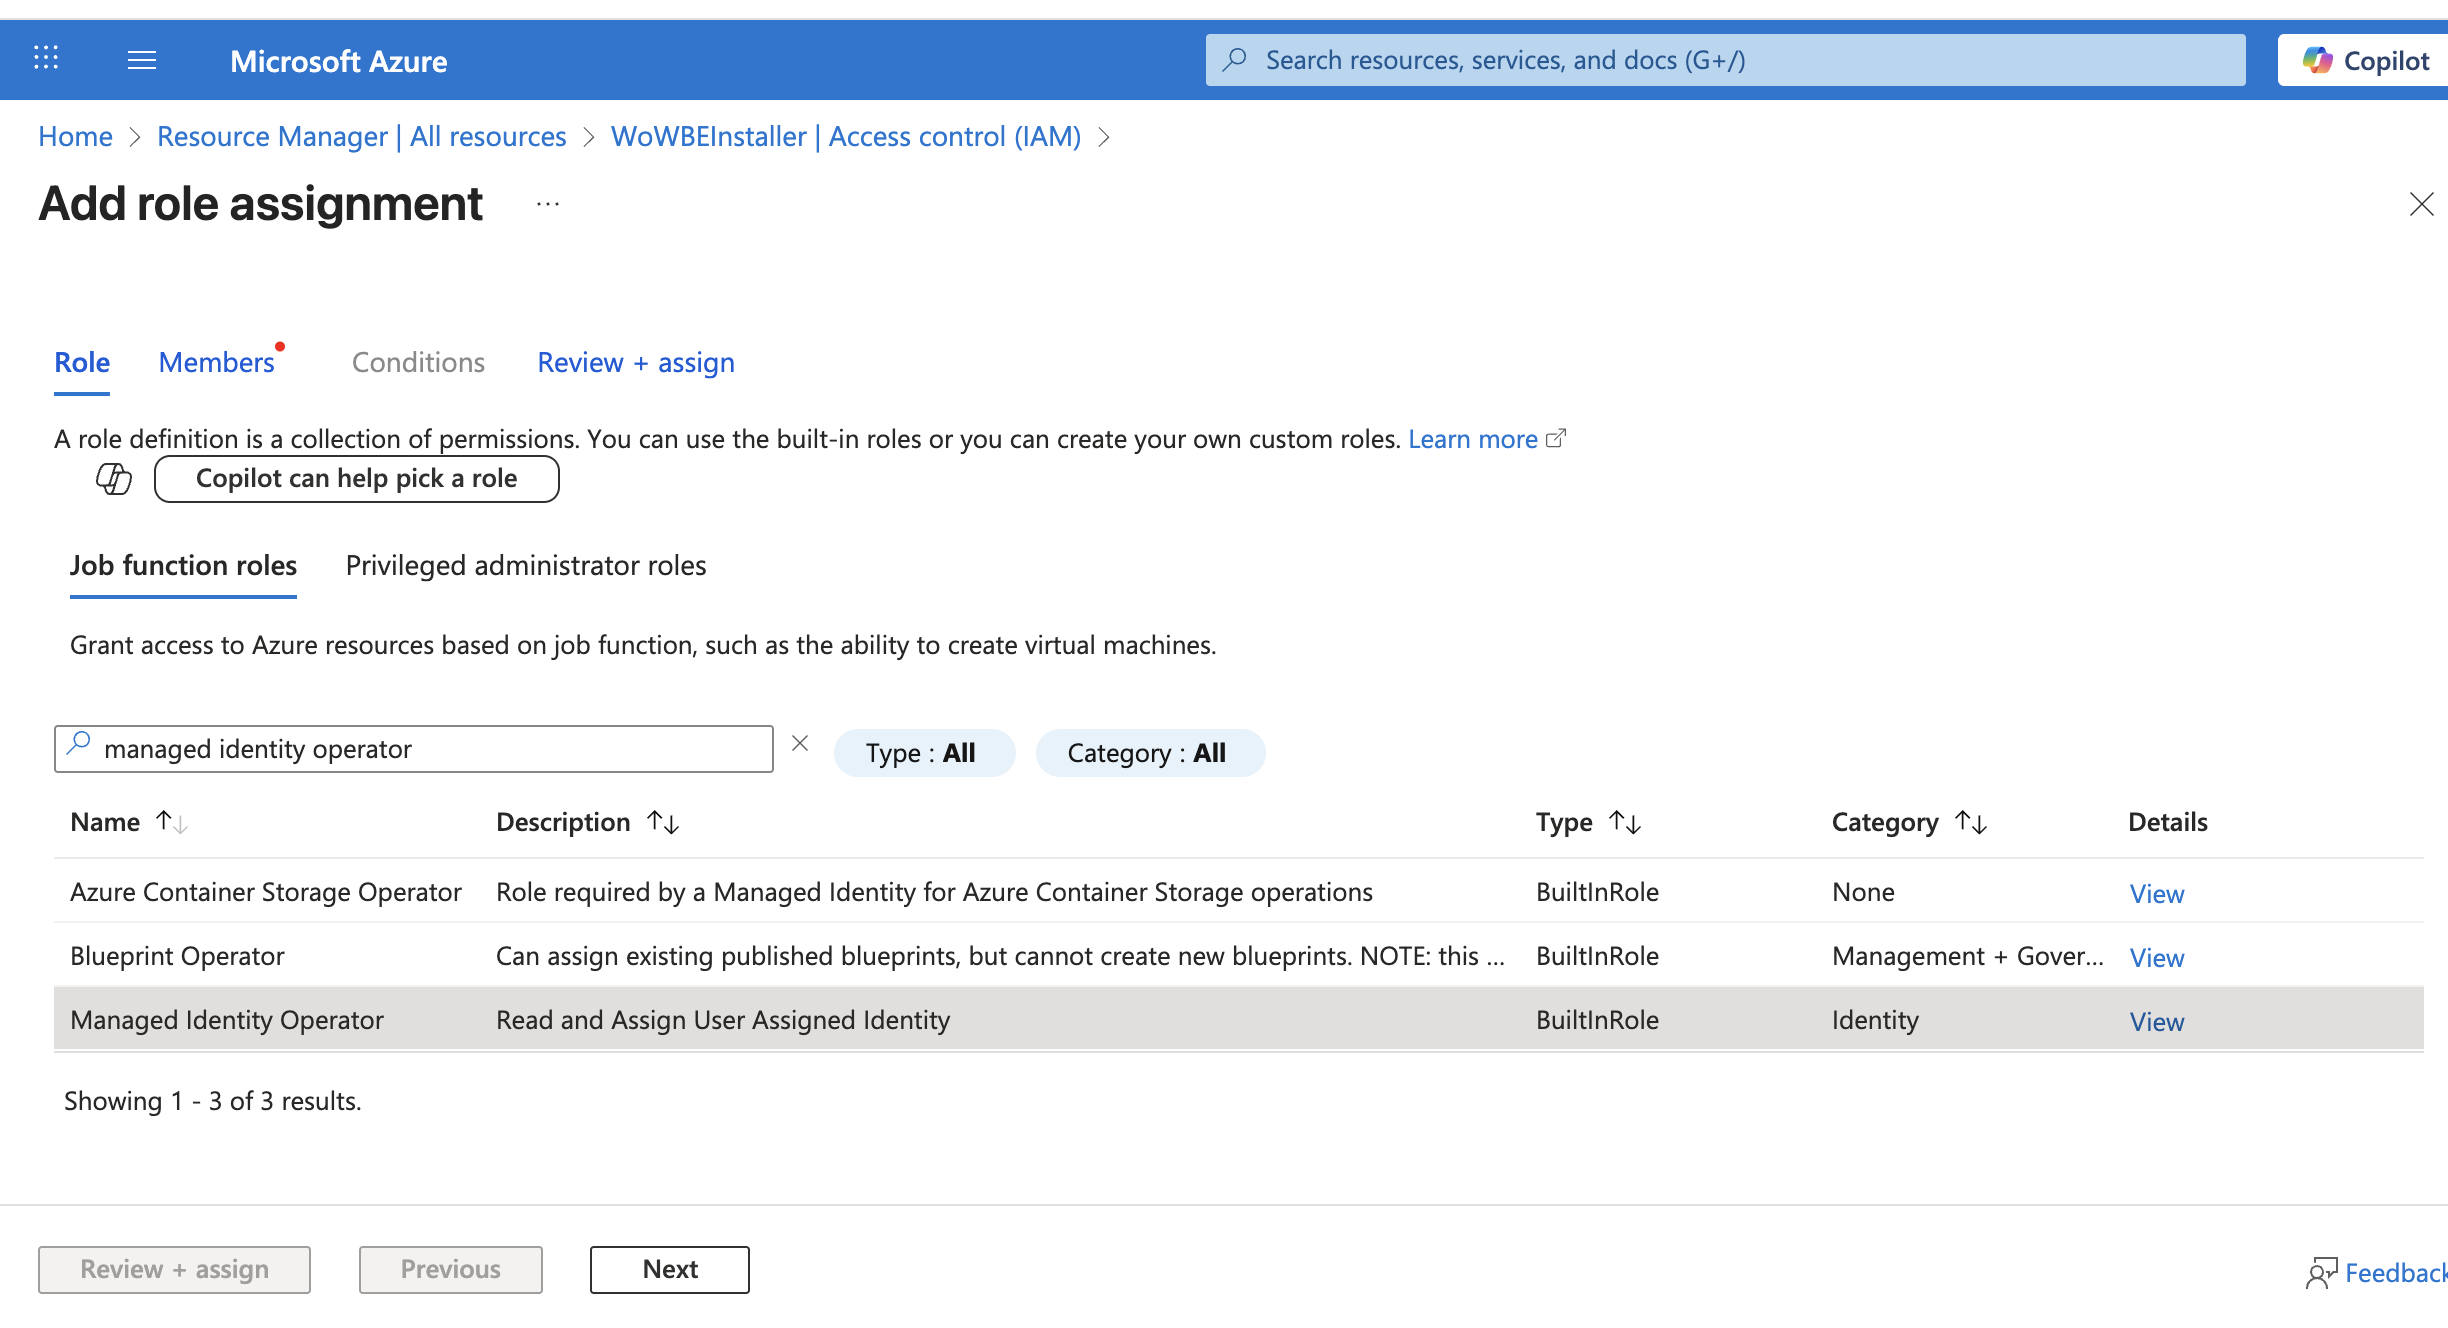
- for the subscription where you will install World of Workflows, make the managed Identity an Owner.
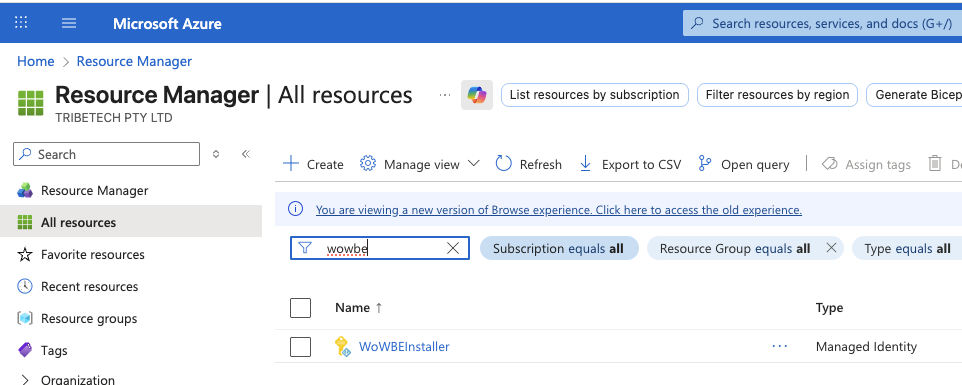
- Find the Managed Identity Resource:
- Add the Owner role
- Find the Managed Identity Resource:
- In Entra Id, in the directory you will install World of Workflows, make the managed Identity an Application Administrator
- Go to Microsoft Entra ID (left menu).
- Click Manage -> Roles and administrators — Open the Application Administrator Role
- Click Add assignments
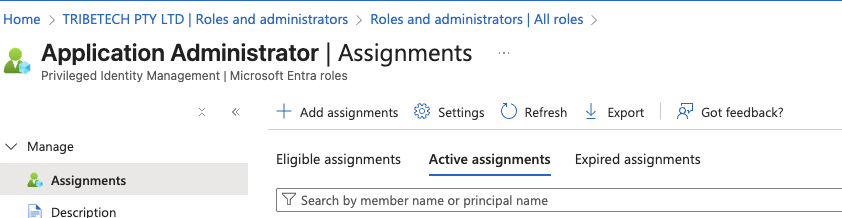
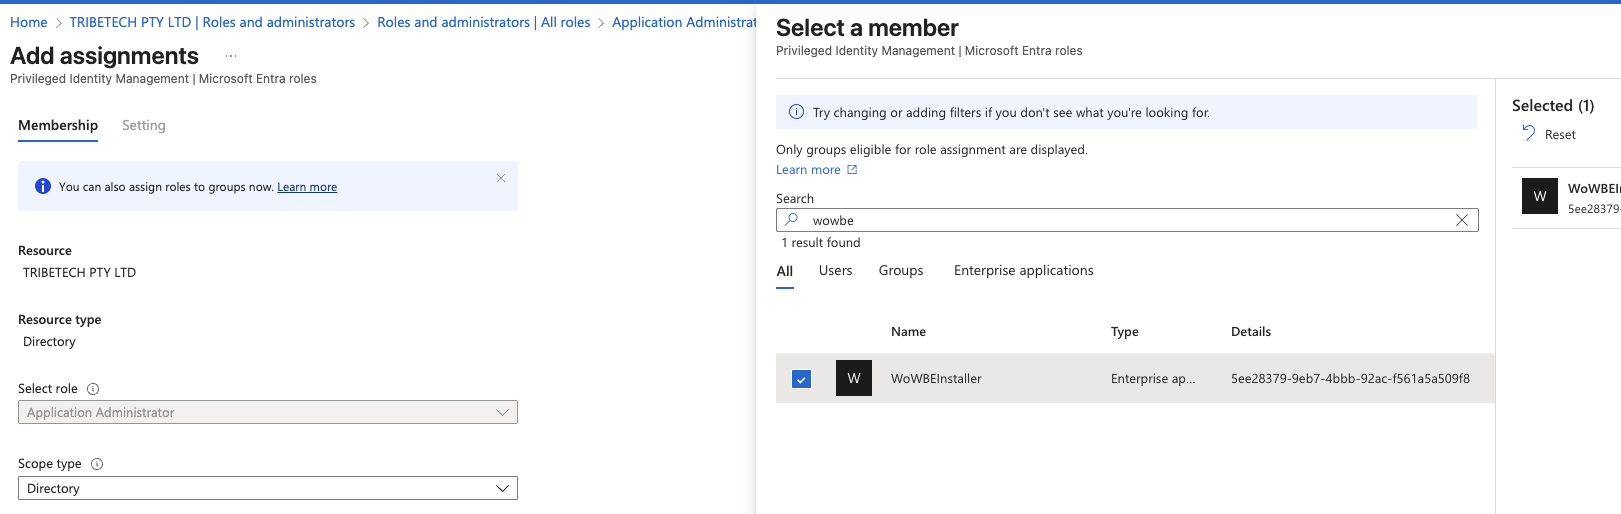
- Click Add. You will now see an active assignment for WoWBEInstaller (your Managed Identity)
- for the subscription where you will install World of Workflows, make the managed Identity an Owner.
This can only be done by a user with appropriate authority. Without the correct authority you will not see the the Add Assignment button.
The managed identity can be deleted after deployment is complete. Add role to the managed identity


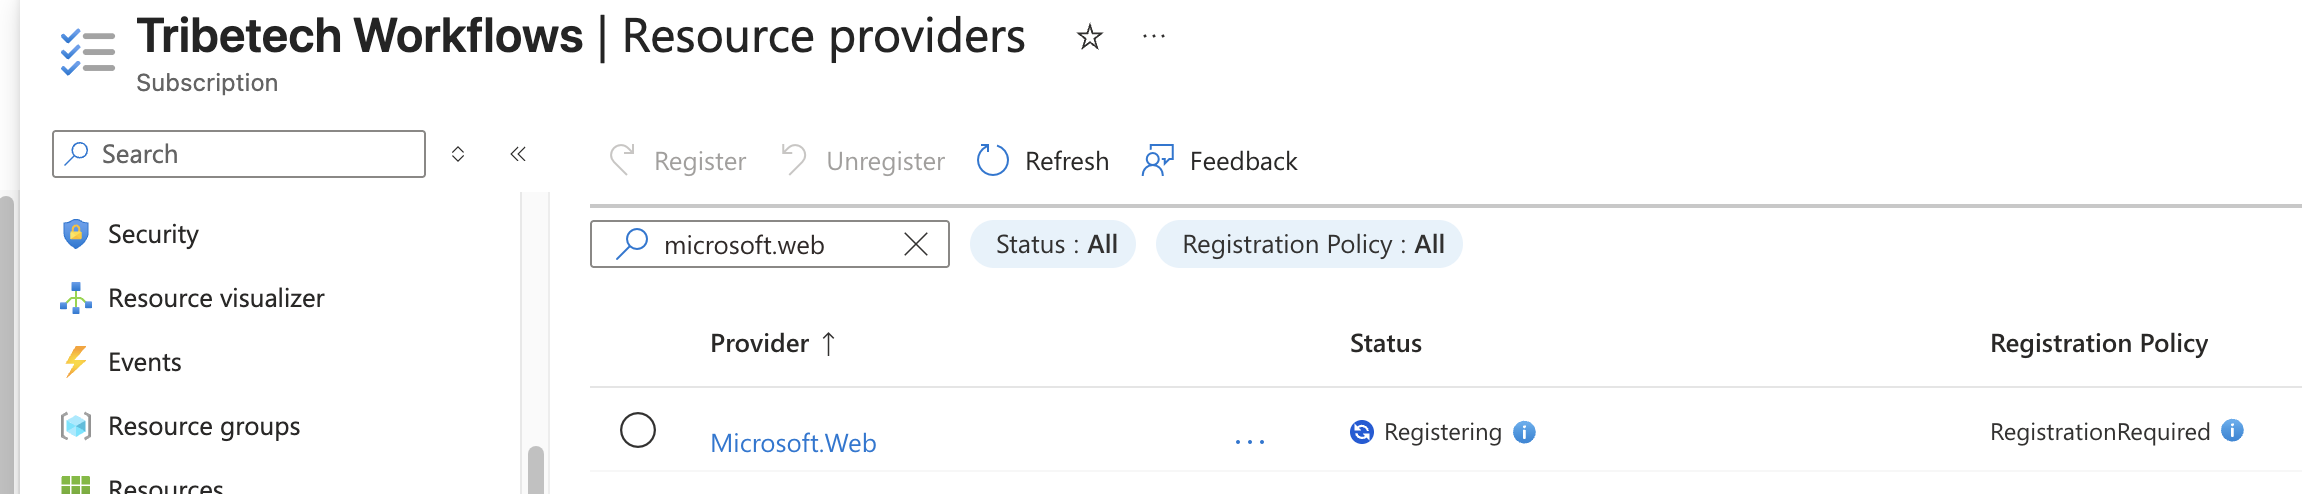
- Ensure your subscription has the Resource provider Microsoft.web registered. In the Azure portal:
- Go to Subscriptions.
- Open subscription your subscription.
- In the left menu, choose Settings -> Resource providers.
- Search for Microsoft.Web.
- Click Register.
For example:
Installing World of Workflows
- Navigate to the Azure Portal
- Click + Create a resource
- Search for User World of Workflows or click the link to the Azure Marketplace.
- Choose your plan and click Create
- Complete the form as follows:
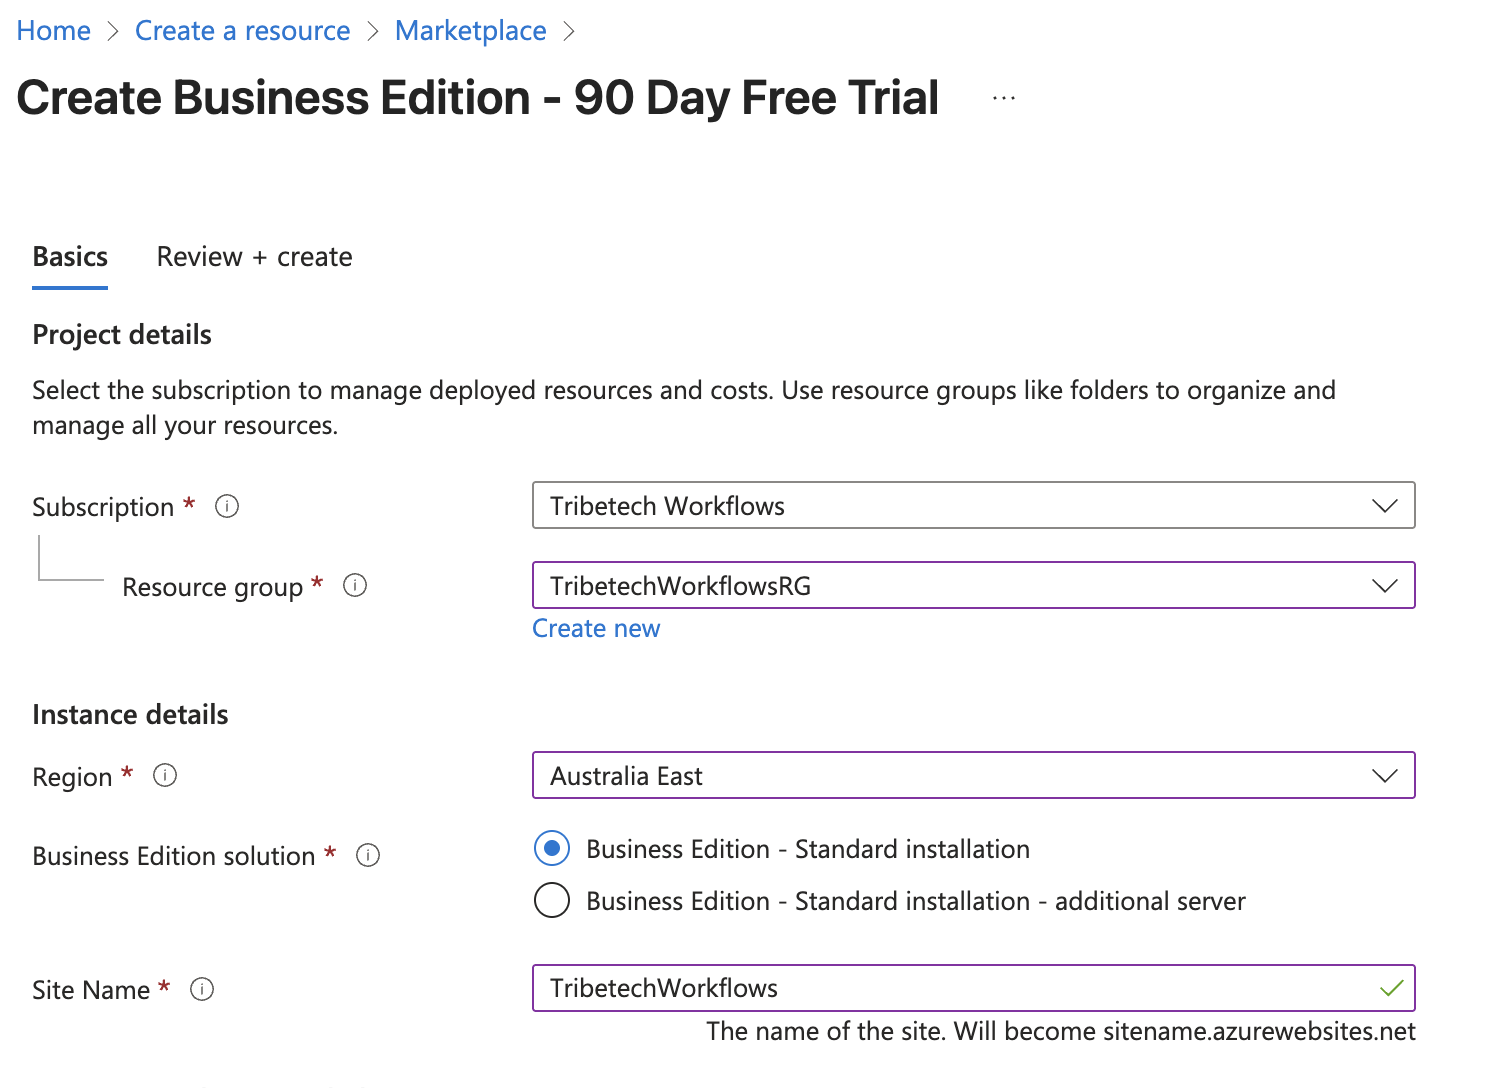
- Project Details
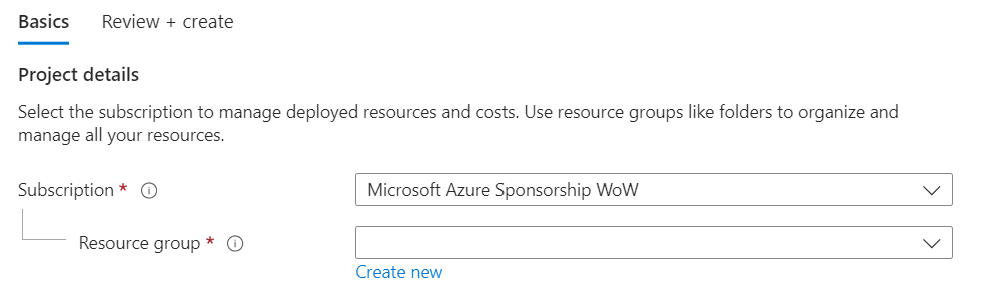
- Enter the subscription where you would like to install world of Workflows and create a new Resource Group by clicking Create new
- Instance Details
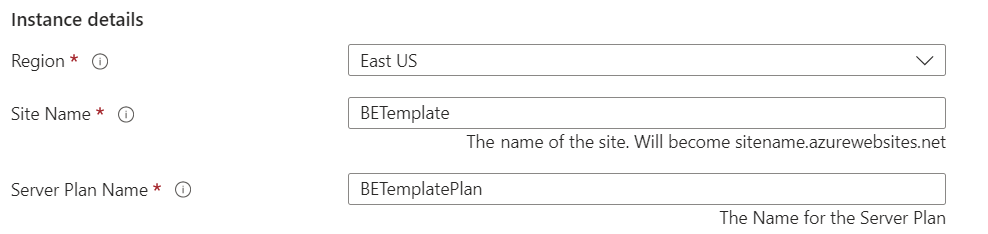
- Choose the region where you want to install Wold of Workflows and choose a Site Name and Server Plan Name.
- Site Name: This is the name of the application. It can be anything you want, must be unique and will become
https://<sitename>.azurewebsites.netwhen deployment is complete. - Server Plan Name: This can be anything you want and is the plan the server sits under. You use this for scaling your instance up and down.
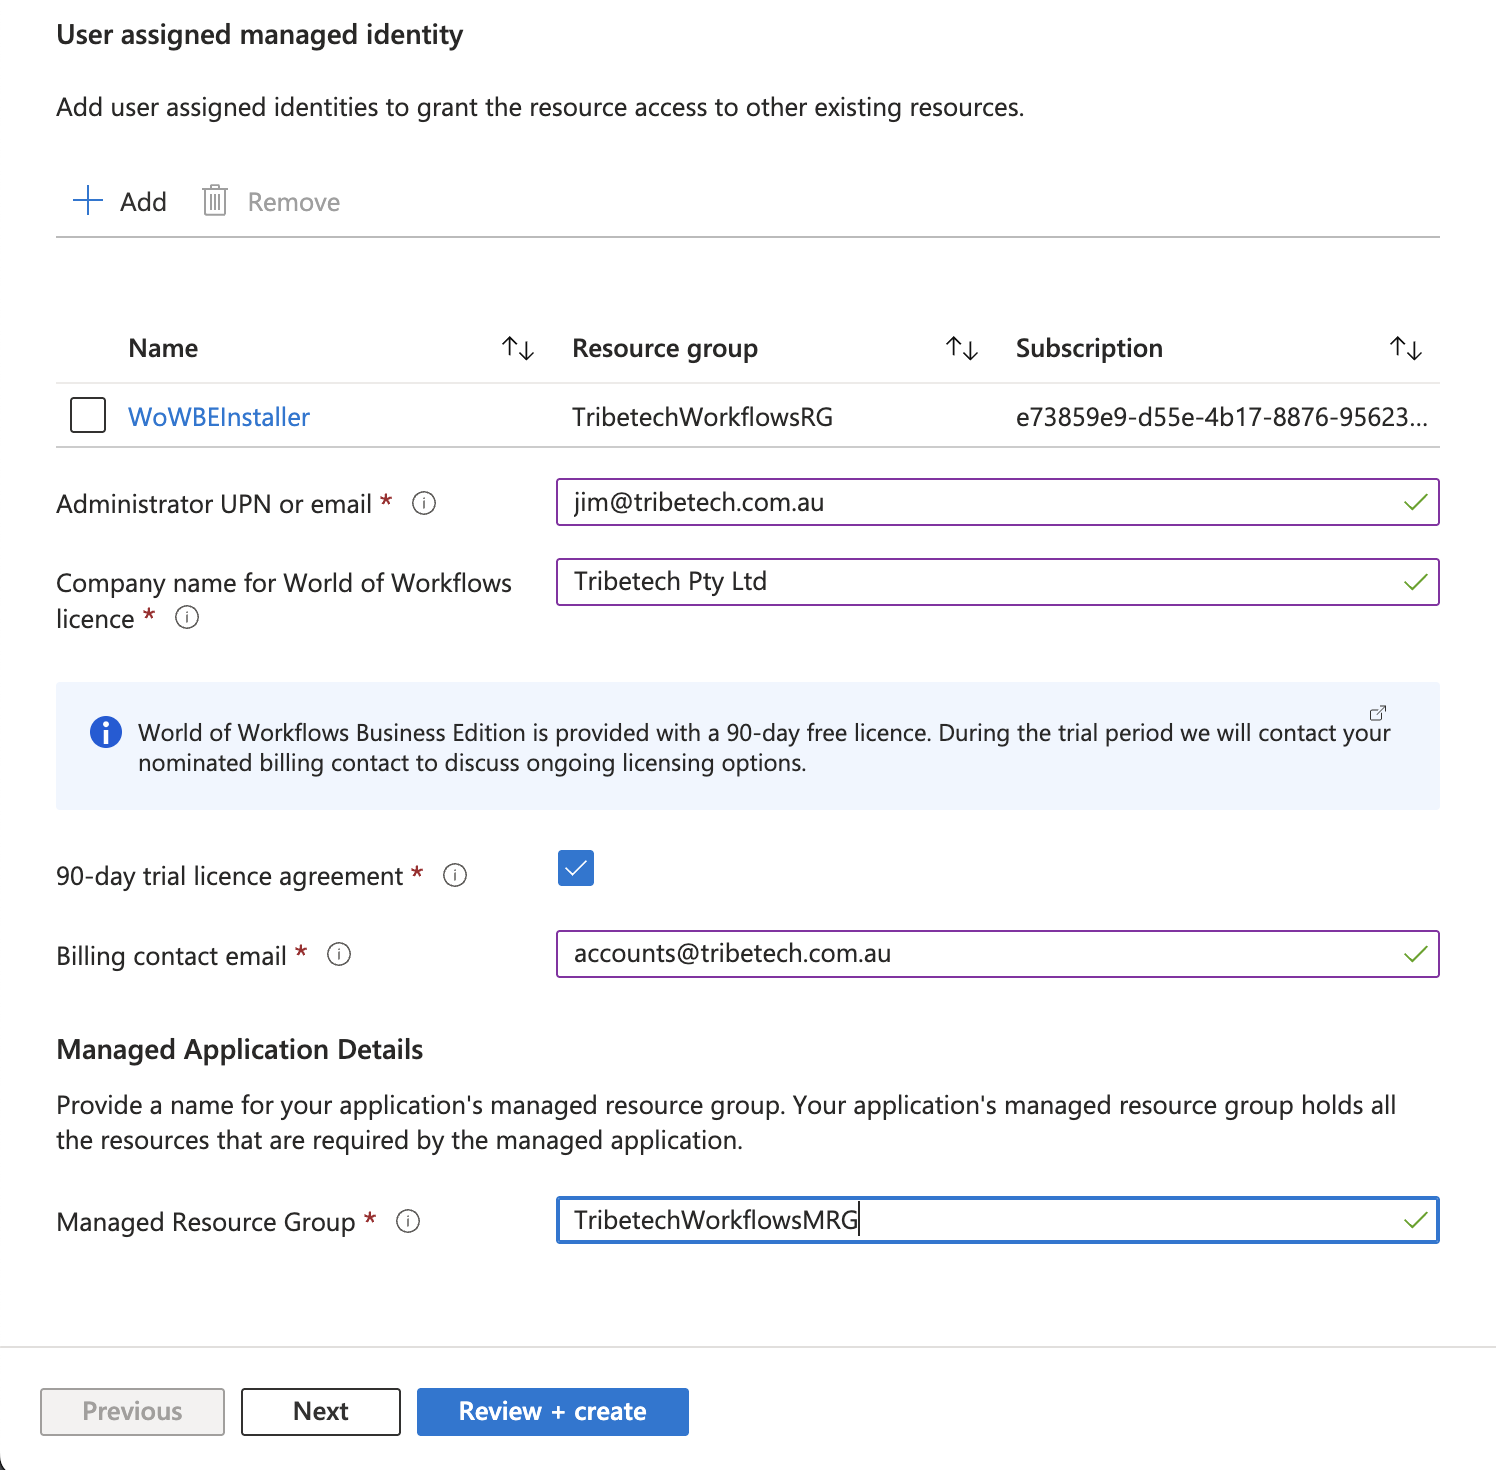
- User assigned managed identity
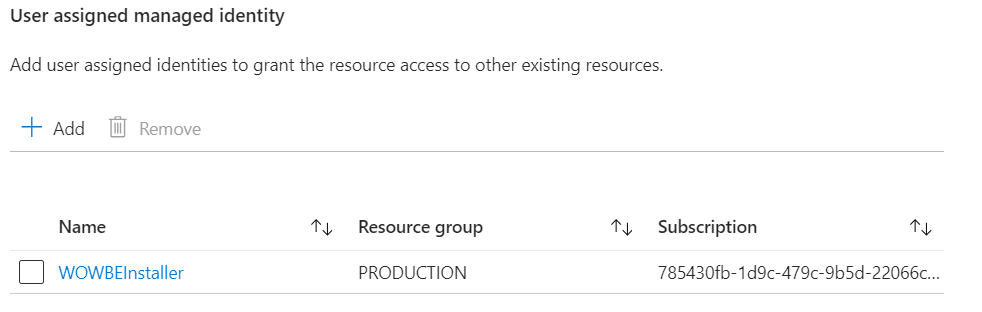
- Choose the user assigned managed identity created in pre-requisites above. Identities need Owner Access to the subscription and Application Administrator access to Entra Id. This identity can be deleted after deployment is complete.
- Single Selector
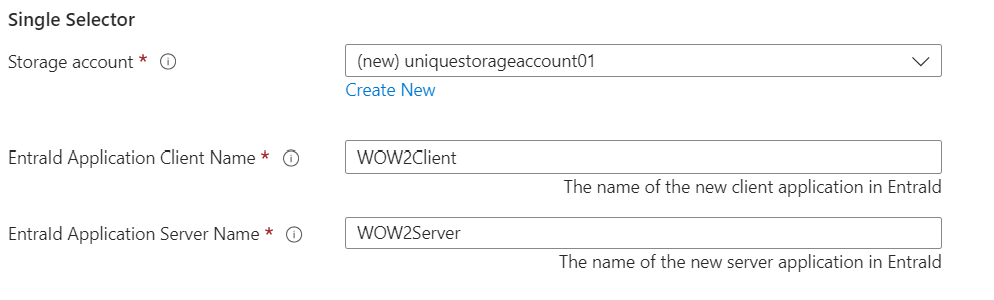
- Create a new storage account for World of Workflows by clicking Create New.
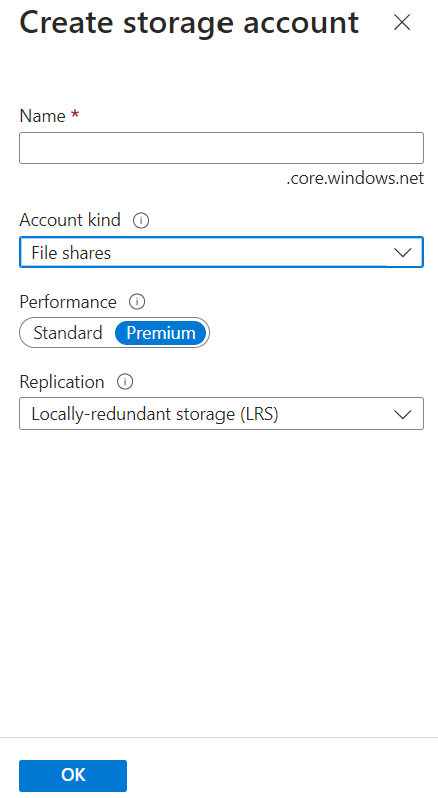
- Ensure the storage account has a unique name and is configured for File Shares as the account kind. When done click Ok
- Enter the name for the Client Application and Server Application in Entra Id. This will create the applications we will use to assign permissions and access the World of Workflows API from other applications.
- Create a new storage account for World of Workflows by clicking Create New.
- Managed Application Details
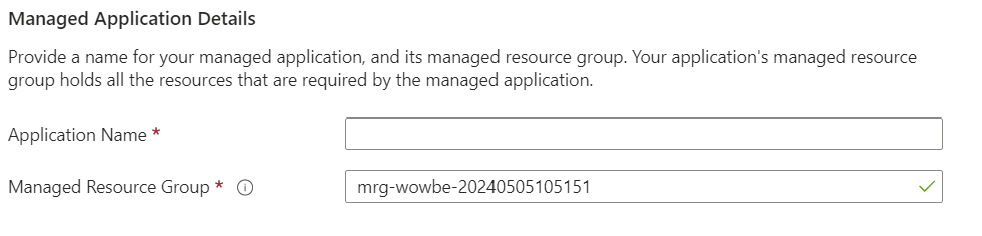
- Enter the Application Name (for example World of Workflows)
- Edit the Managed Resource Group if required .
- Project Details
- Click Review and Create
- Accept the Terms and Conditions and click Create
After about 15 minutes, navigate to https://<sitename>.azurewebsites.net
Granting Permissions
Granting permissions in World of Workflows requires you first to configure the Server Entra Id Application and then assign permissions.
Important: Wait until deployment is complete before performing the tasks below.
- Setting up Server Application
- You only need perform this once
- Navigate to Azure Portal –> Entra Id –> App Registrations
- Click All Applications
- Search for the Server application configured in step iv. above.
- Click API Permissions
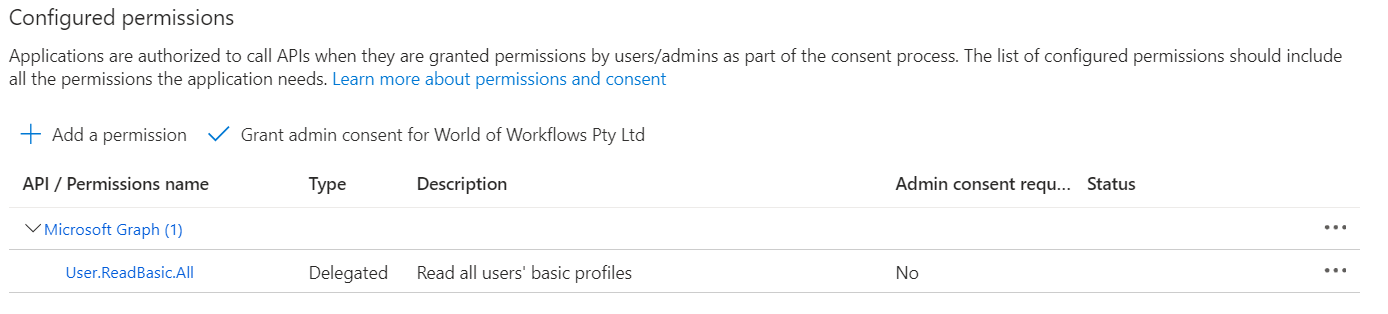
- Click Add a permission
- Click Microsoft Graph
- Click Delegated Permissions
- Select email, offline_access, openid and profile
- Click Add Permissions
- Click Grant Admin Consent
- Click Yes
- Granting Permissions
- Navigate to Azure Portal –> Entra Id –> Enteprrise Applications
- Click X next to Application type == Enteprrise Applications.
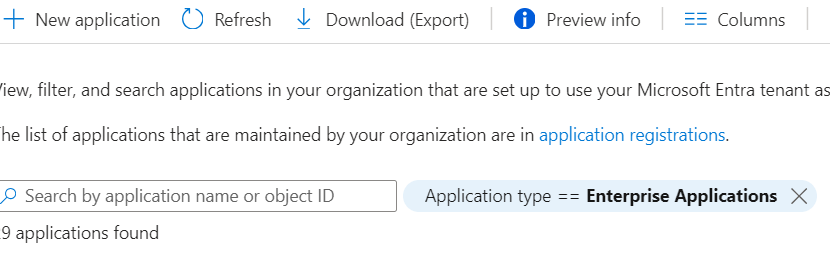
- Search for and select the server applcation congfigured in step iv above.
- Under Manage, choose Users and Groups
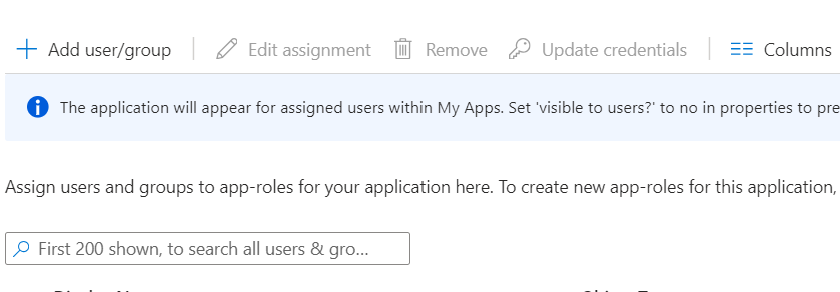
- Click Add user/group
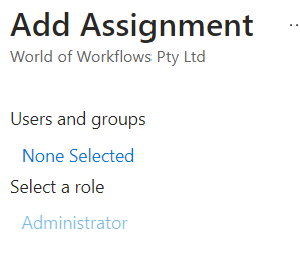
- Click None Selected
- Search for and select the User you want to grant permissions to
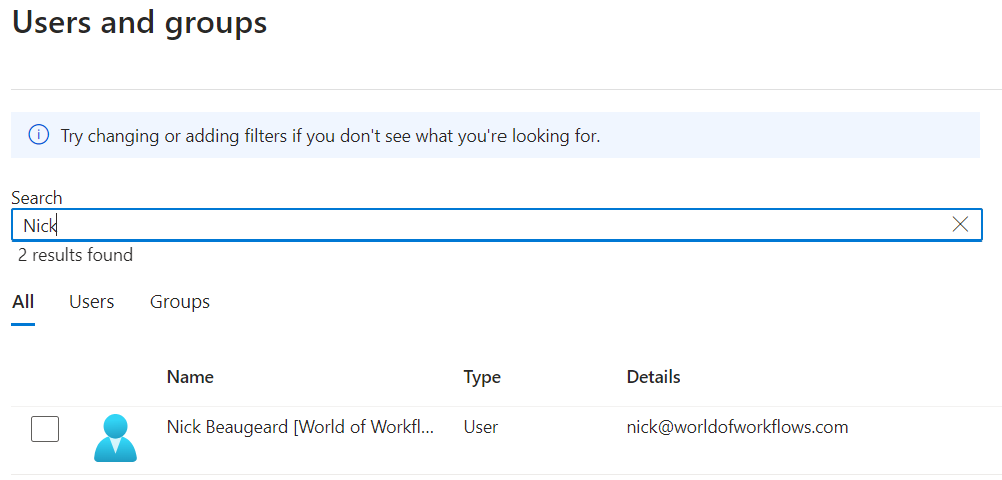
- Click Select
- Click Assign. Administrator is the only role available in this version
Now you can navigate to your new server and login.